Heroku Add-on for Yugabyte Cloud Now Available in Public Beta
September 17, 2020
Today, we are pleased to announce the public beta release of the Heroku Yugabyte Cloud add-on. With new accessibility to the Heroku marketplace, the process of deploying a fully-managed distributed SQL database in the cloud is now radically simple. For those of you who are new to distributed SQL, YugabyteDB is a Google Spanner-inspired, cloud native distributed SQL database that is 100% open source. It puts a premium on high performance, data resilience, and geographic distribution, while ensuring PostgreSQL wire compatibility.
The Heroku add-on integrates Yugabyte Cloud seamlessly with Heroku, a popular developer PaaS. It allows developers to use YugabyteDB as the system-of-record database for any of their Heroku apps. Through the add-on, Heroku users can quickly have their YugabyteDB running on AWS and GCP (Azure coming soon!). Using it is just as easy as you expect from any PaaS: simply add the add-on dependency to your Heroku app, and you’re good to go!
More good news: part of this beta release, the other feature we’re announcing during this beta is Yugabyte Cloud Shell.
Boost developer productivity with cloud shell
Cloud Shell is a web browser-based terminal accessible from the Yugabyte Cloud Console and available for all Yugabyte Cloud accounts. It provides access to a Linux shell with a pre-authenticated CLI and with one click, you can start managing your database instance from the command line—no installation needed. The cloud shell relies on the command line shells of the APIs it is compatible with. This means ysqlsh for interacting with the YSQL API and ycqlsh for interacting with the YCQL API. Each of these shells is functionally rich and supports easy introspection of metadata as well as the data stored.
New features in action
In this blog post, we will integrate Heroku with Yugabyte Cloud using a sample GraphQL application. The application is built using the blazing-fast GraphQL engine, Hasura, that gives you an instant GraphQL API with webhook triggers on database events for asynchronous business logic. This application is available as a “Heroku Button” which provides an easy way to get an app up and running quickly on the platform.
Sign up for Heroku
Head over to https://signup.heroku.com/ and set up your free account. The sample application and add-on are free of cost but Heroku requires a credit card on file for any add-on usage.
Deploy Hasura GraphQL on Heroku, powered by Yugabyte Cloud
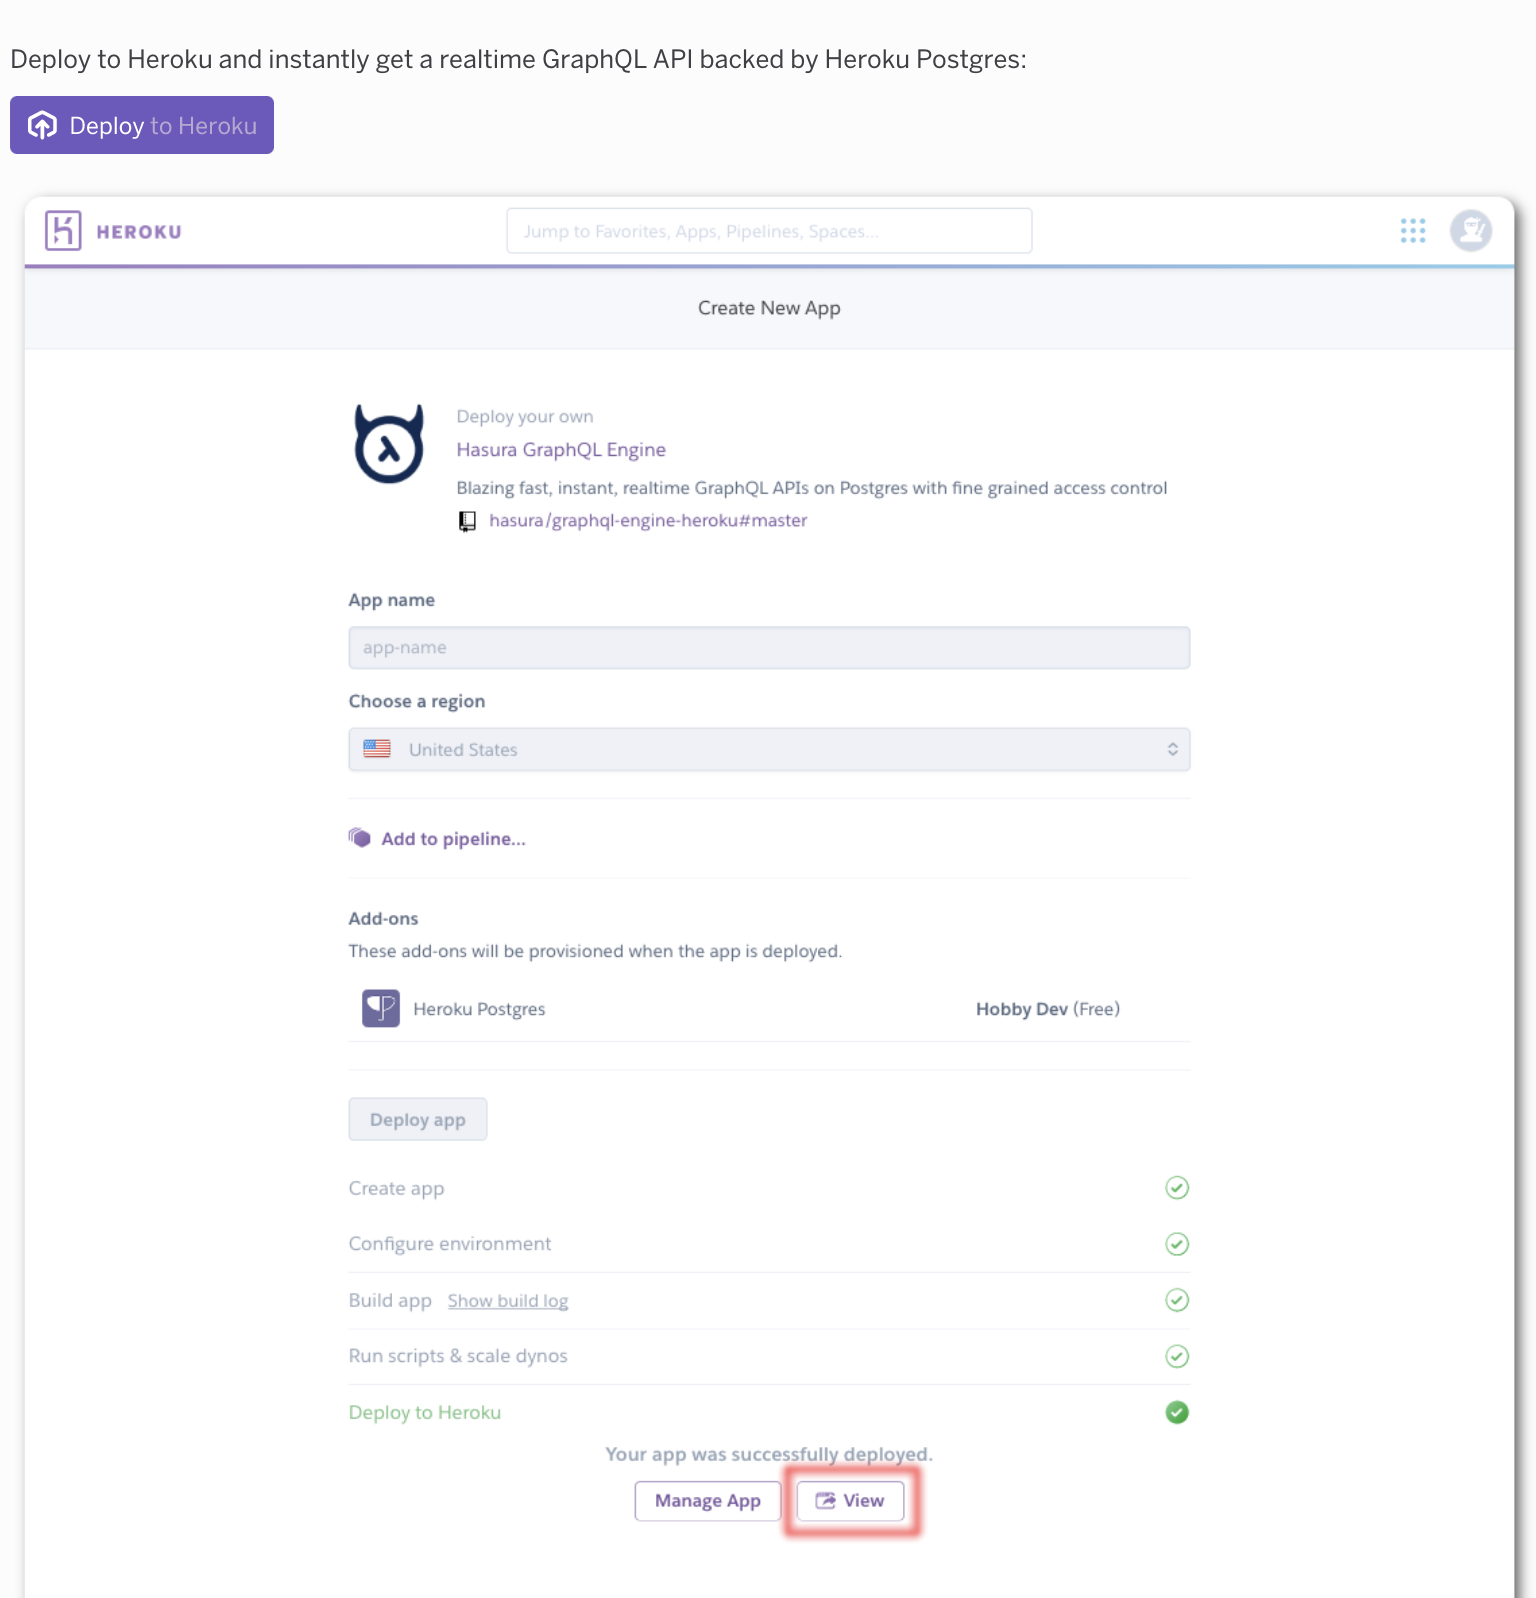
Click on the “Deploy to Heroku” button to deploy the sample application by using the Heroku button from the marketplace.
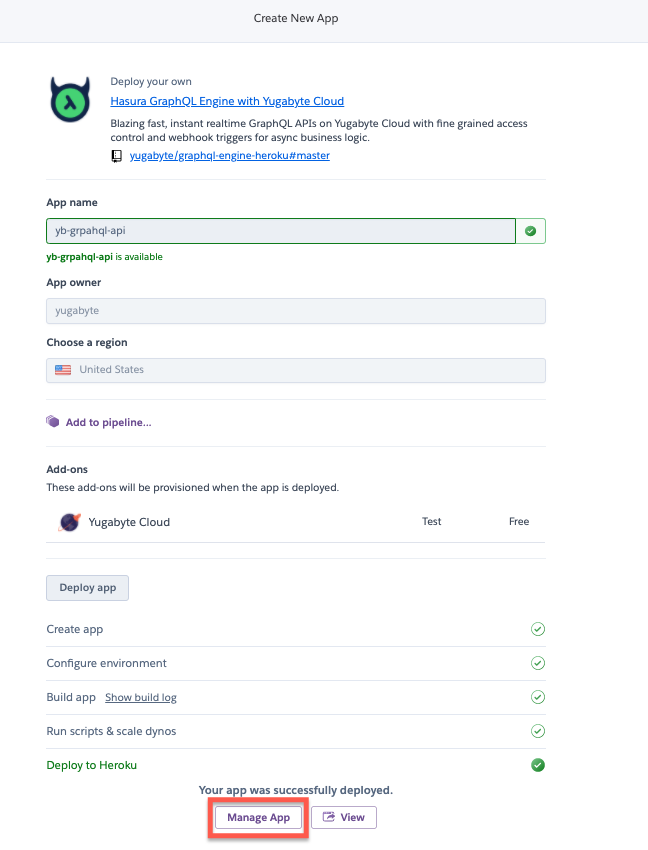
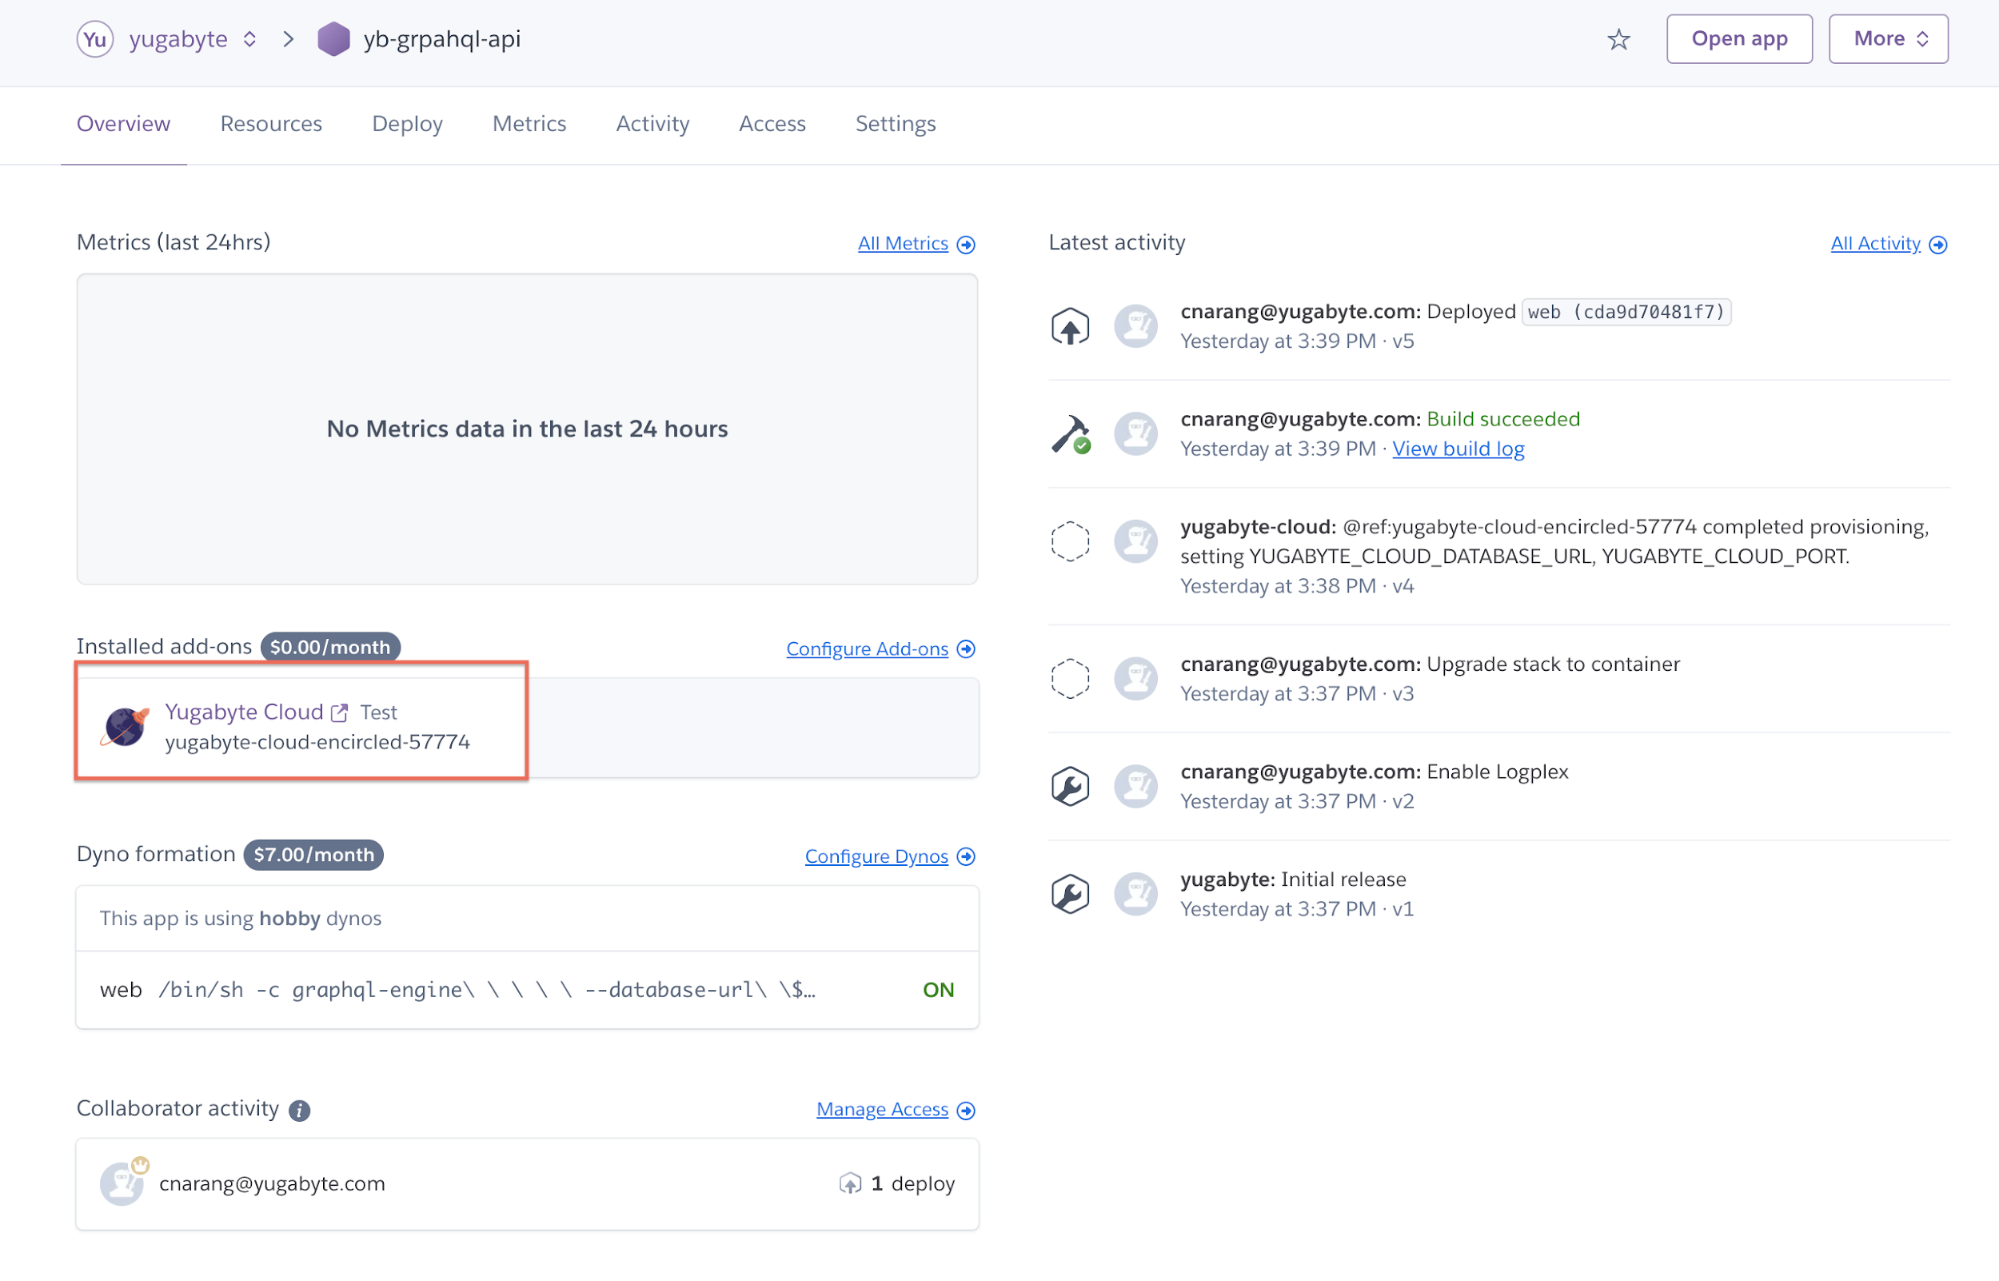
After clicking on the “Manage App” you’ll see an overview page with Heroku’s free Yugabyte add-on installed.
Tip: Yugabyte Cloud can be used with any app that accepts a PostgreSQL database connection, you can add Yugabyte Cloud to your app from the elements marketplace or through the Heroku command.
$ heroku addons:create yugabyte-cloud --app appname
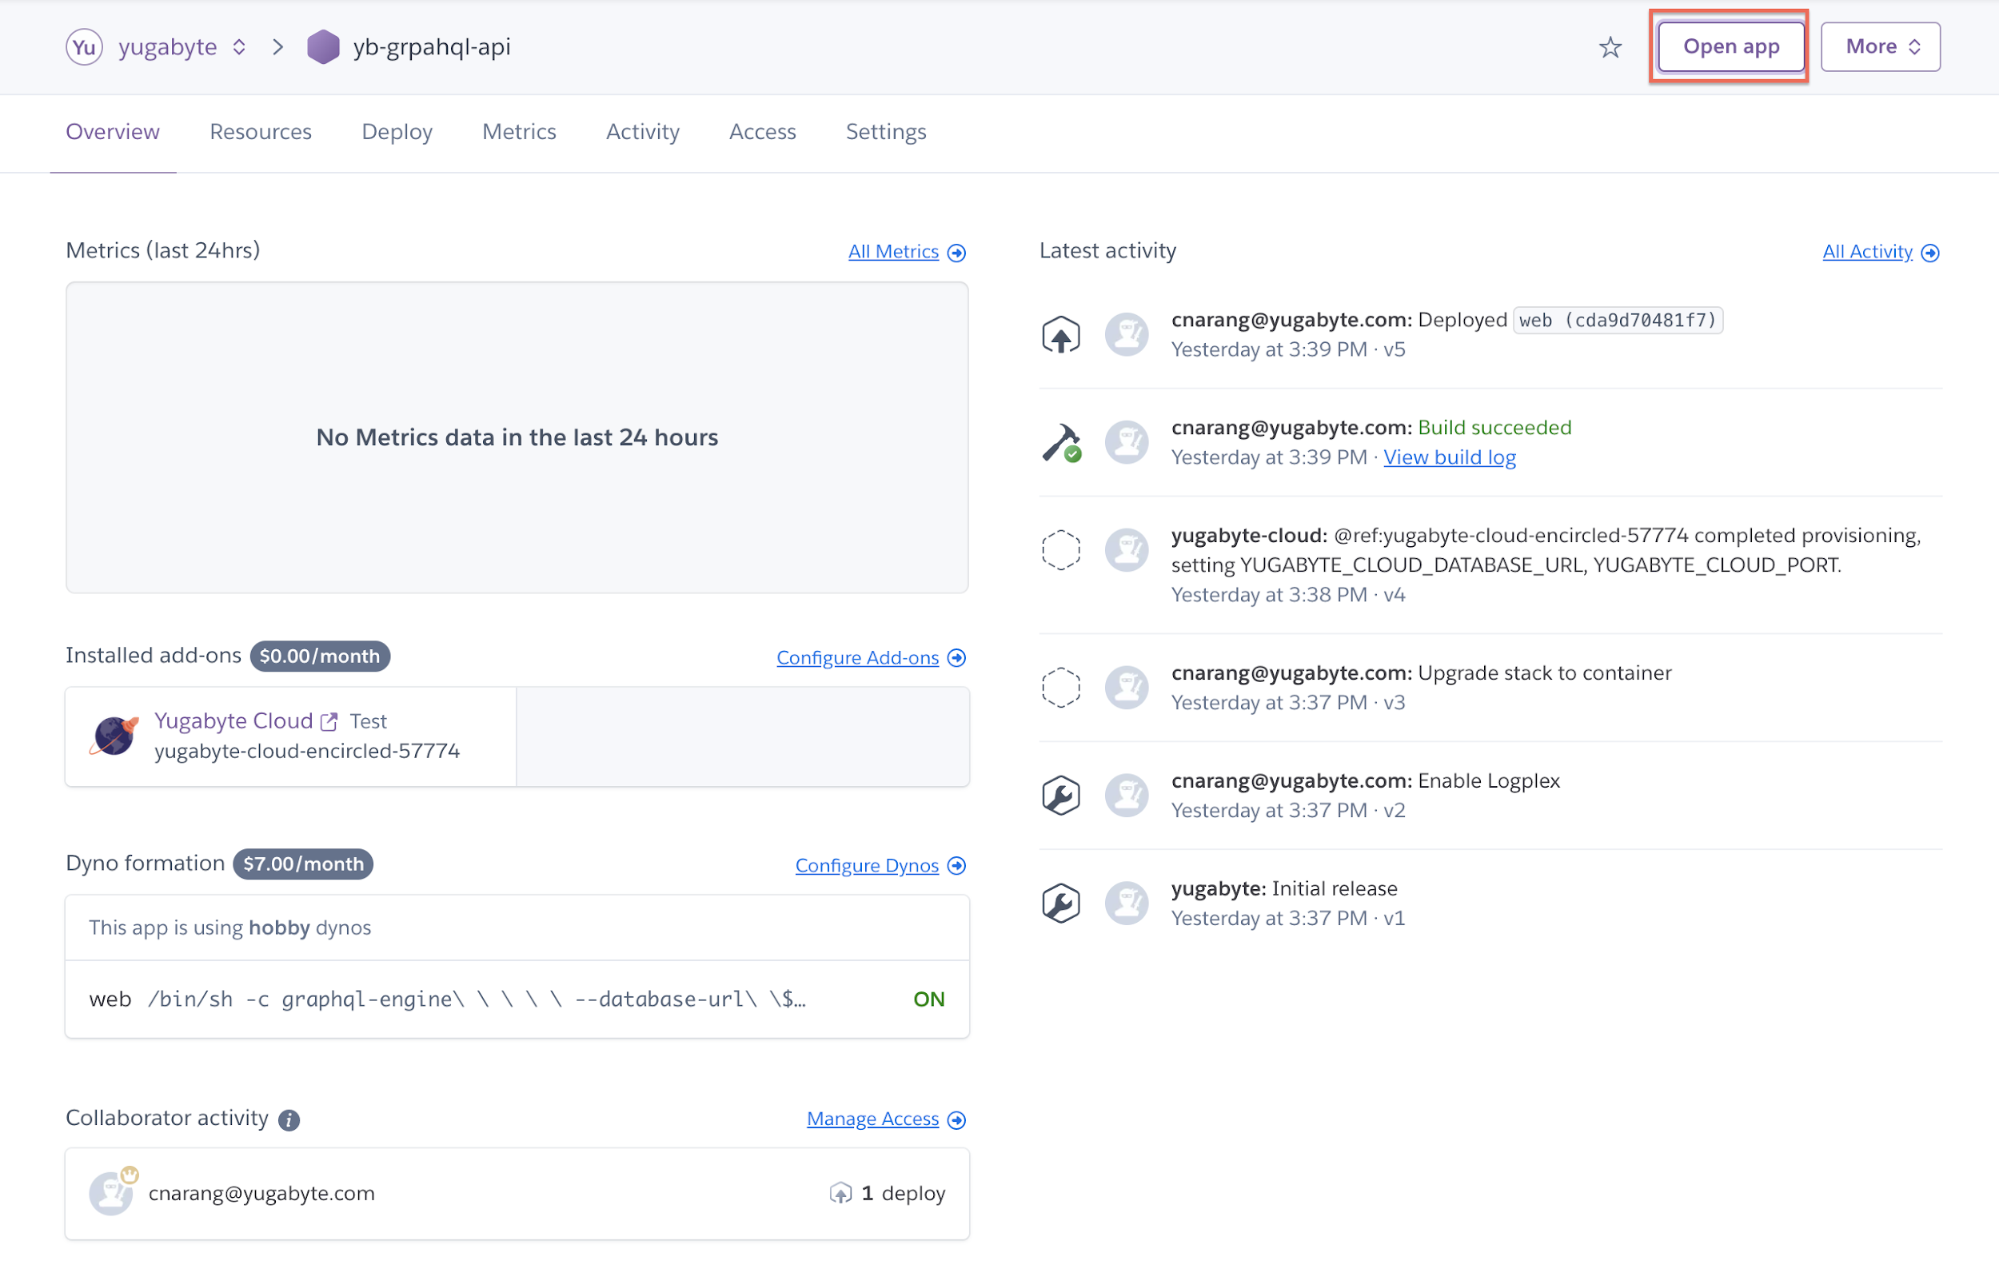
Now we will access the Hasura Console by opening the Heroku app URL for data modeling.
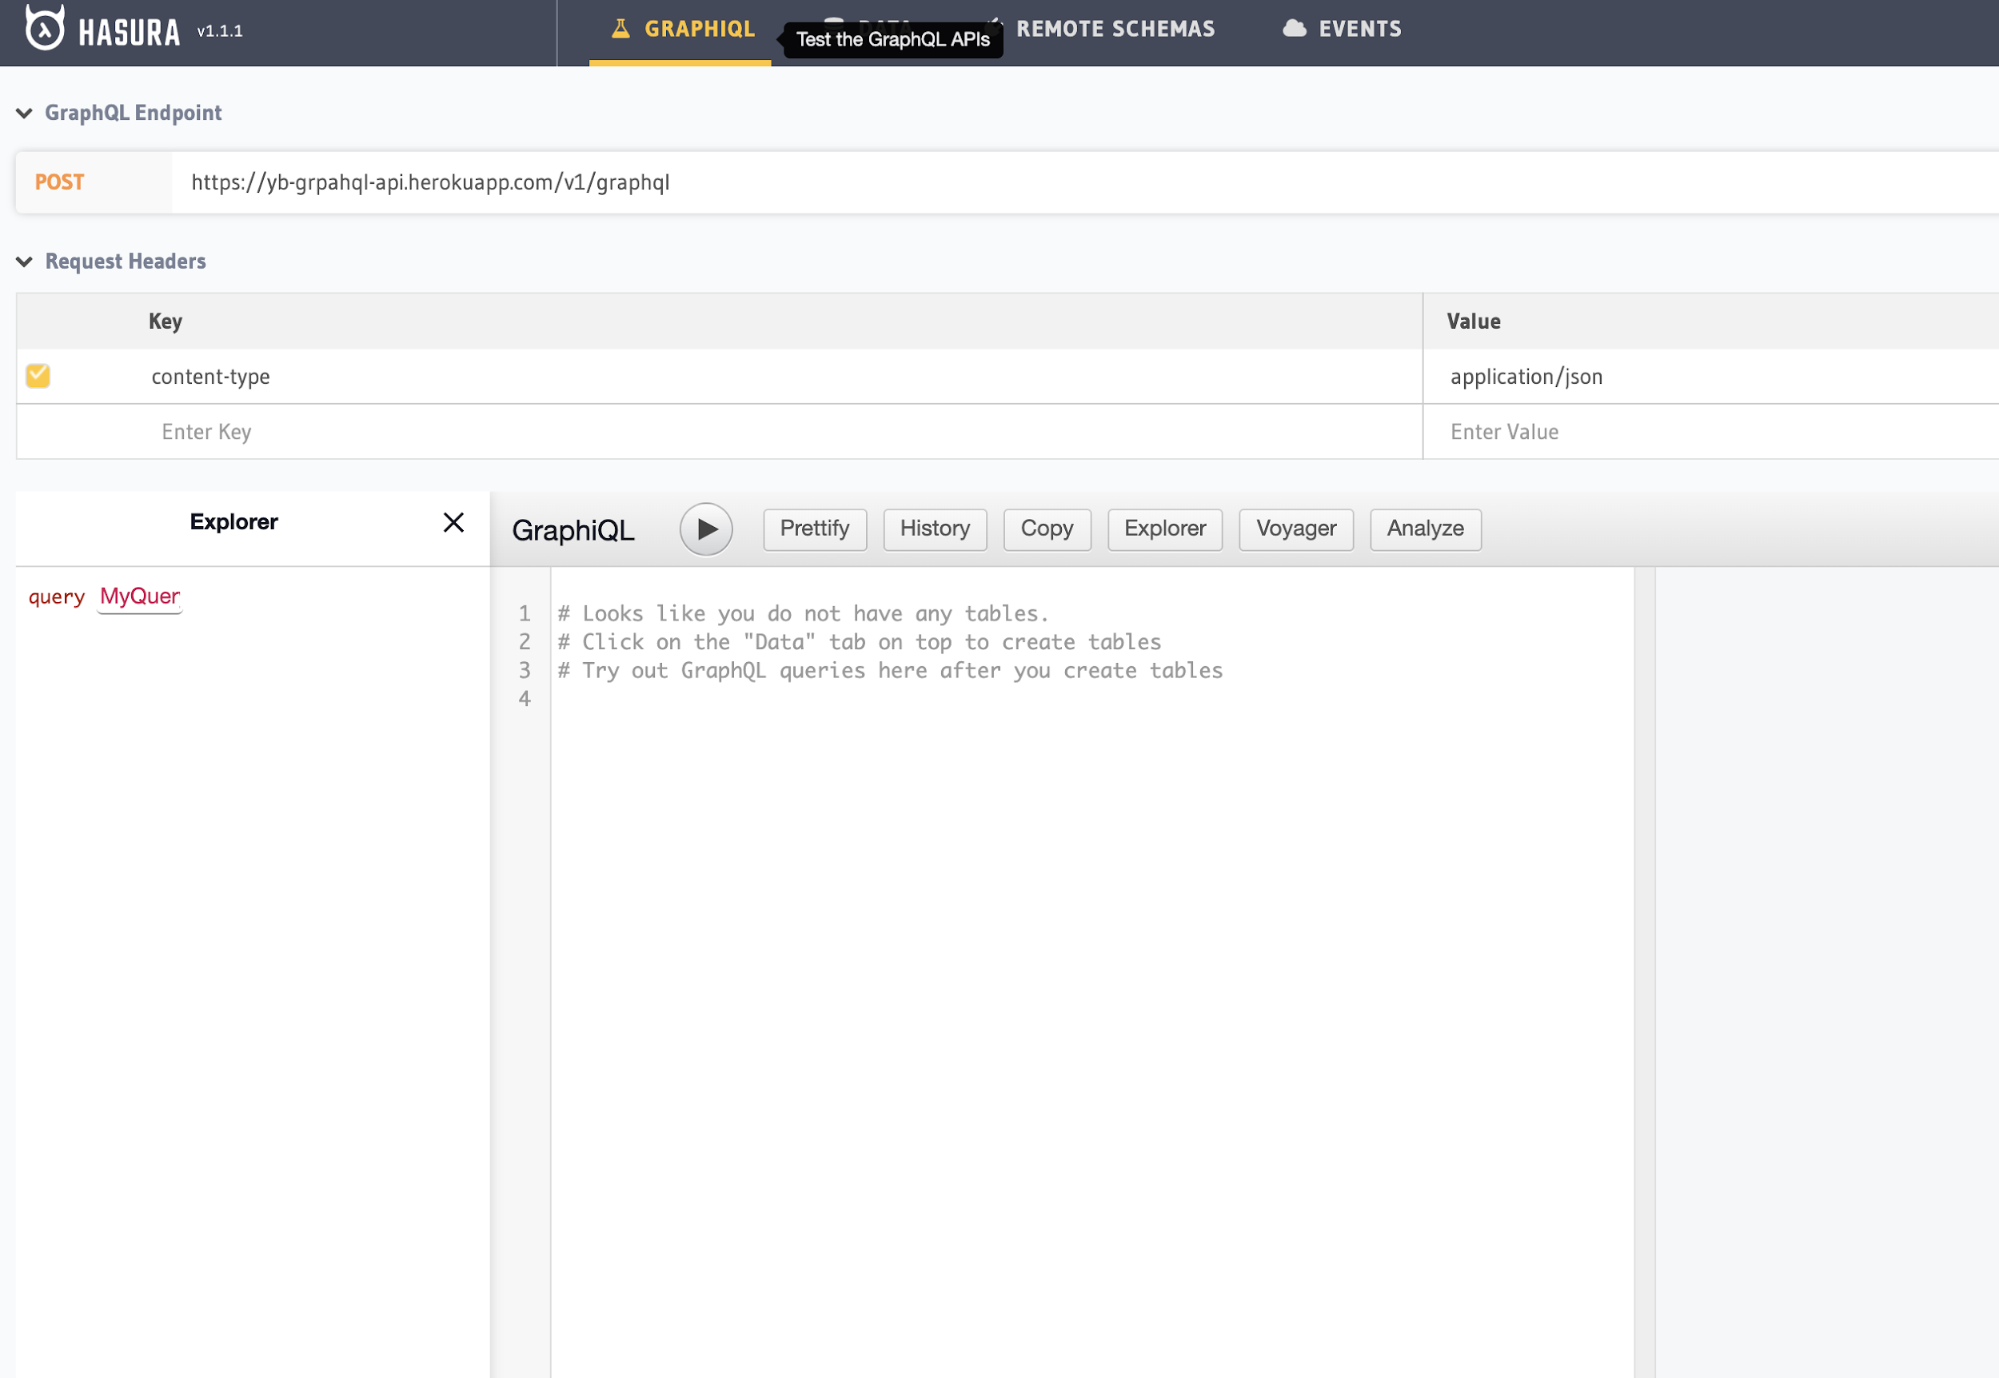
Click on “Open app”. You should now be redirected to the Hasura console.
Modeling data
The next thing that we’ll want to do is to create a table, and add columns and data types.
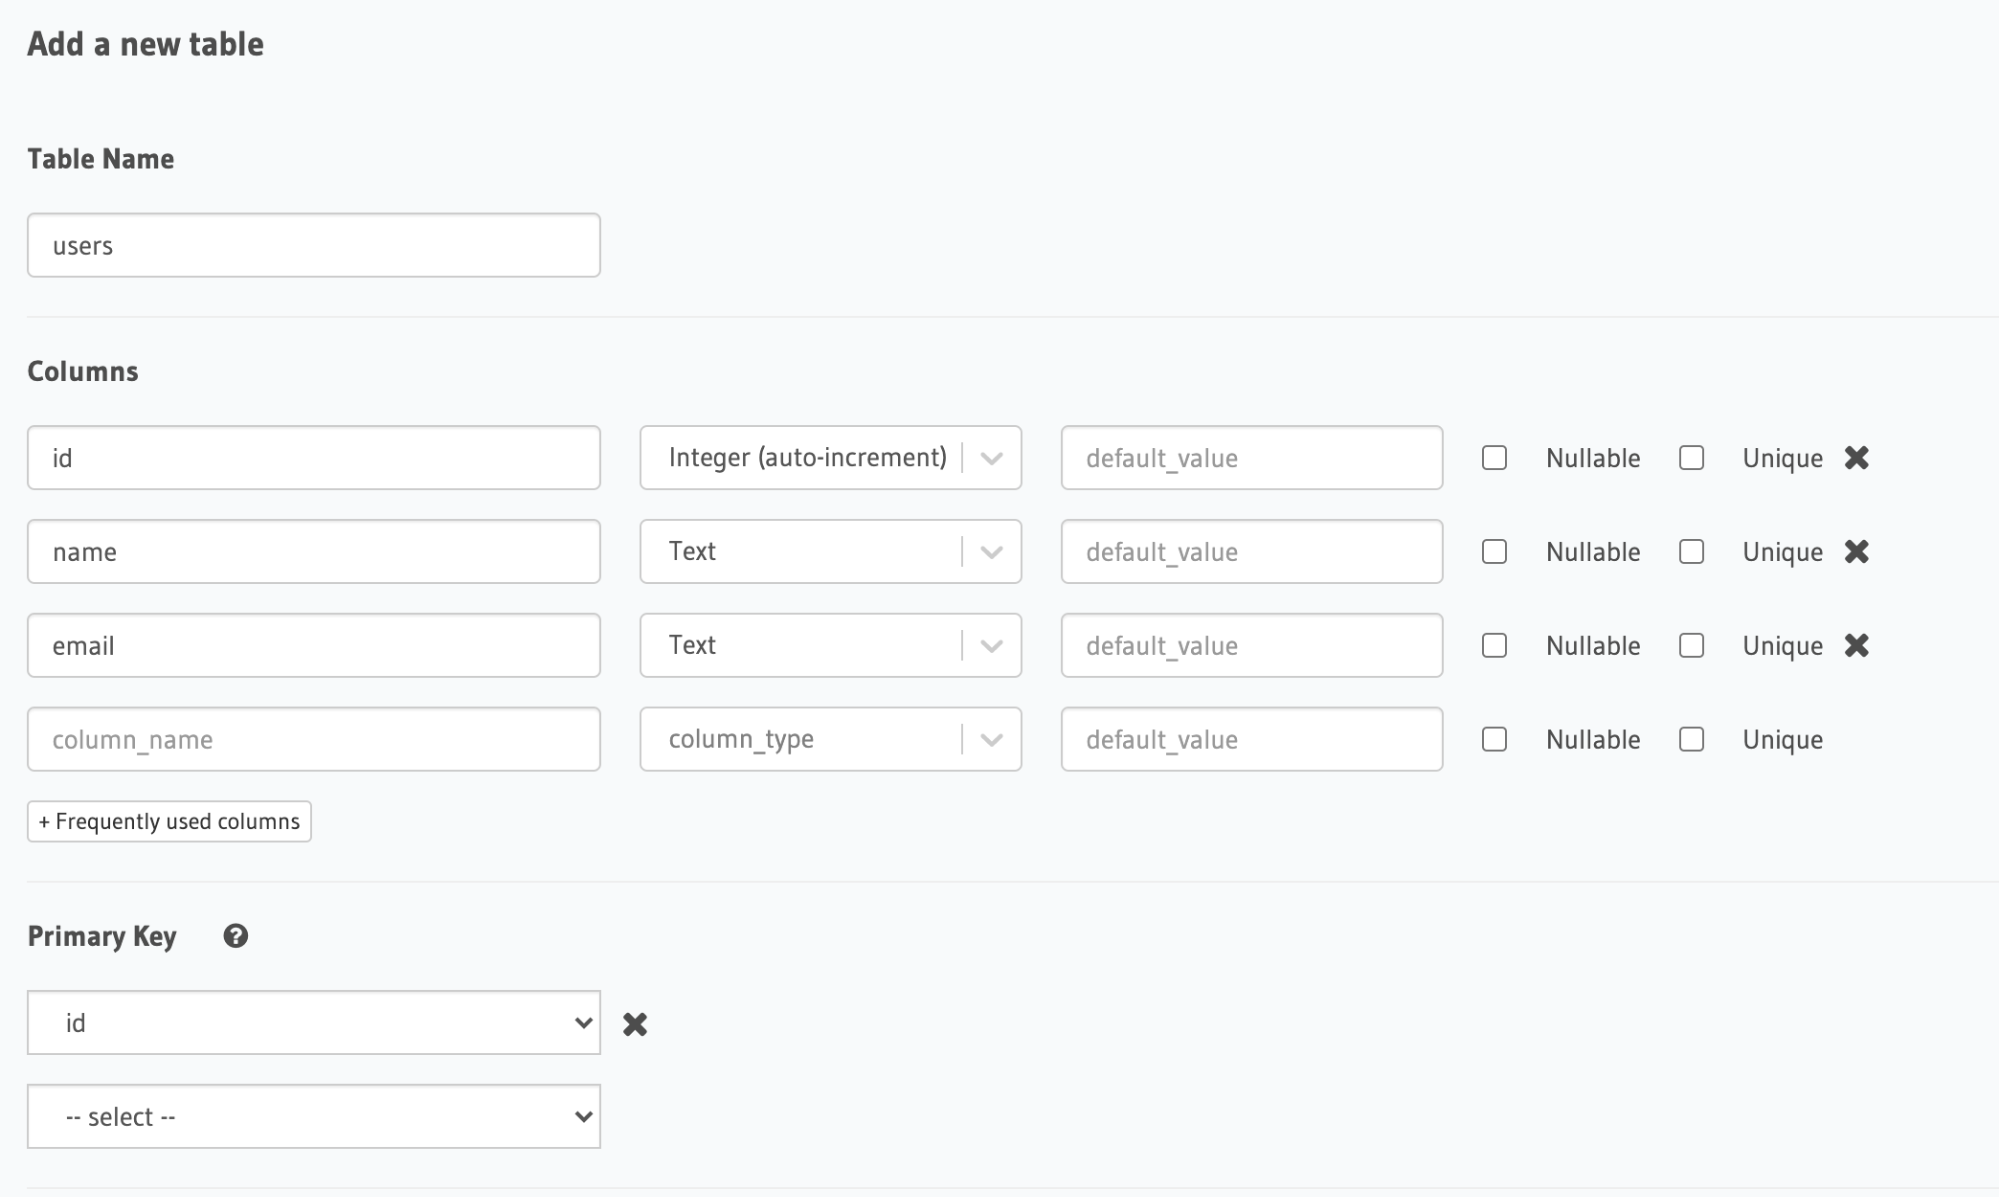
For the purposes of this blog post, I am going to create a sample database called users. Head to the Data > Create Table “users” with the following columns and data types.
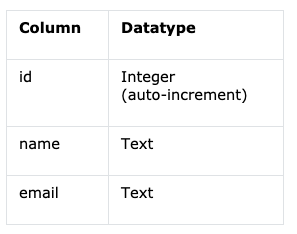
Choose id as the Primary key and click the “Create” button.
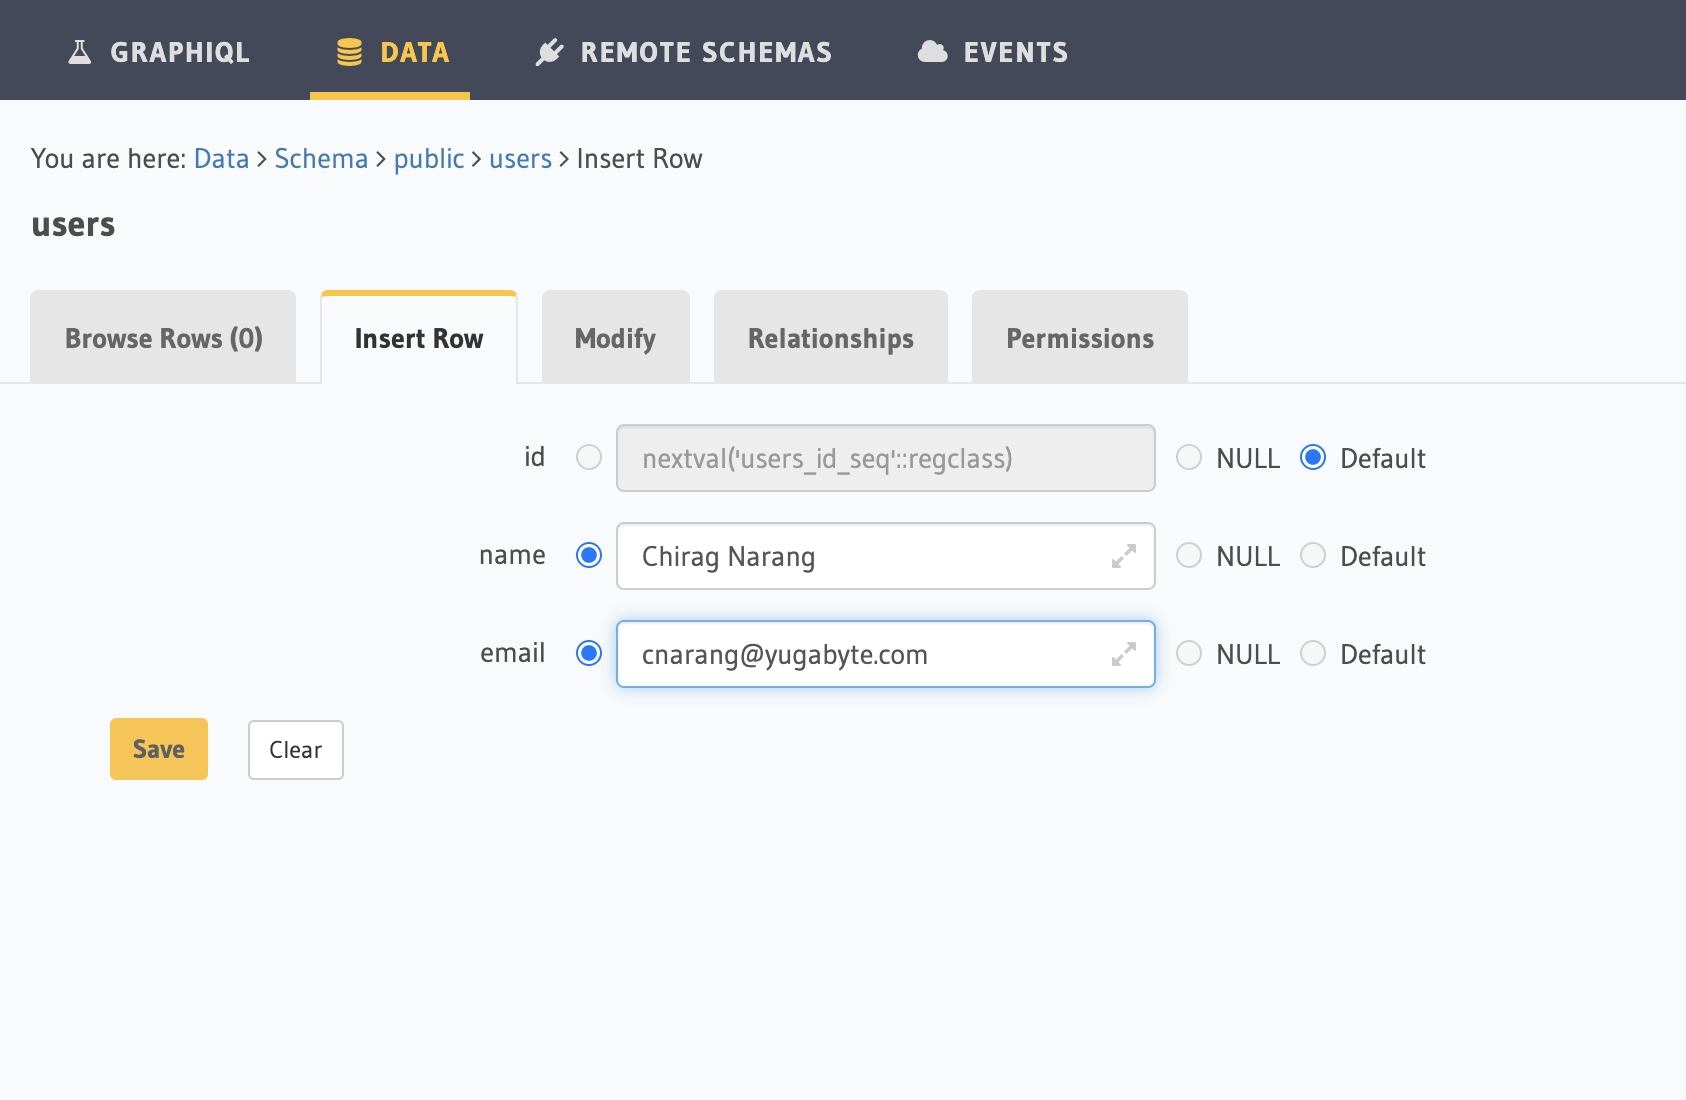
Once the table is created, go to the “Insert Row” tab and insert some sample rows:
Try out GraphQL
Now we will try to access our data using the GraphQL API. Execute the below GraphQL query from the “GraphQL” tab on the top.
query MyQuery {
  users {
    id
    email
    name
  }
}
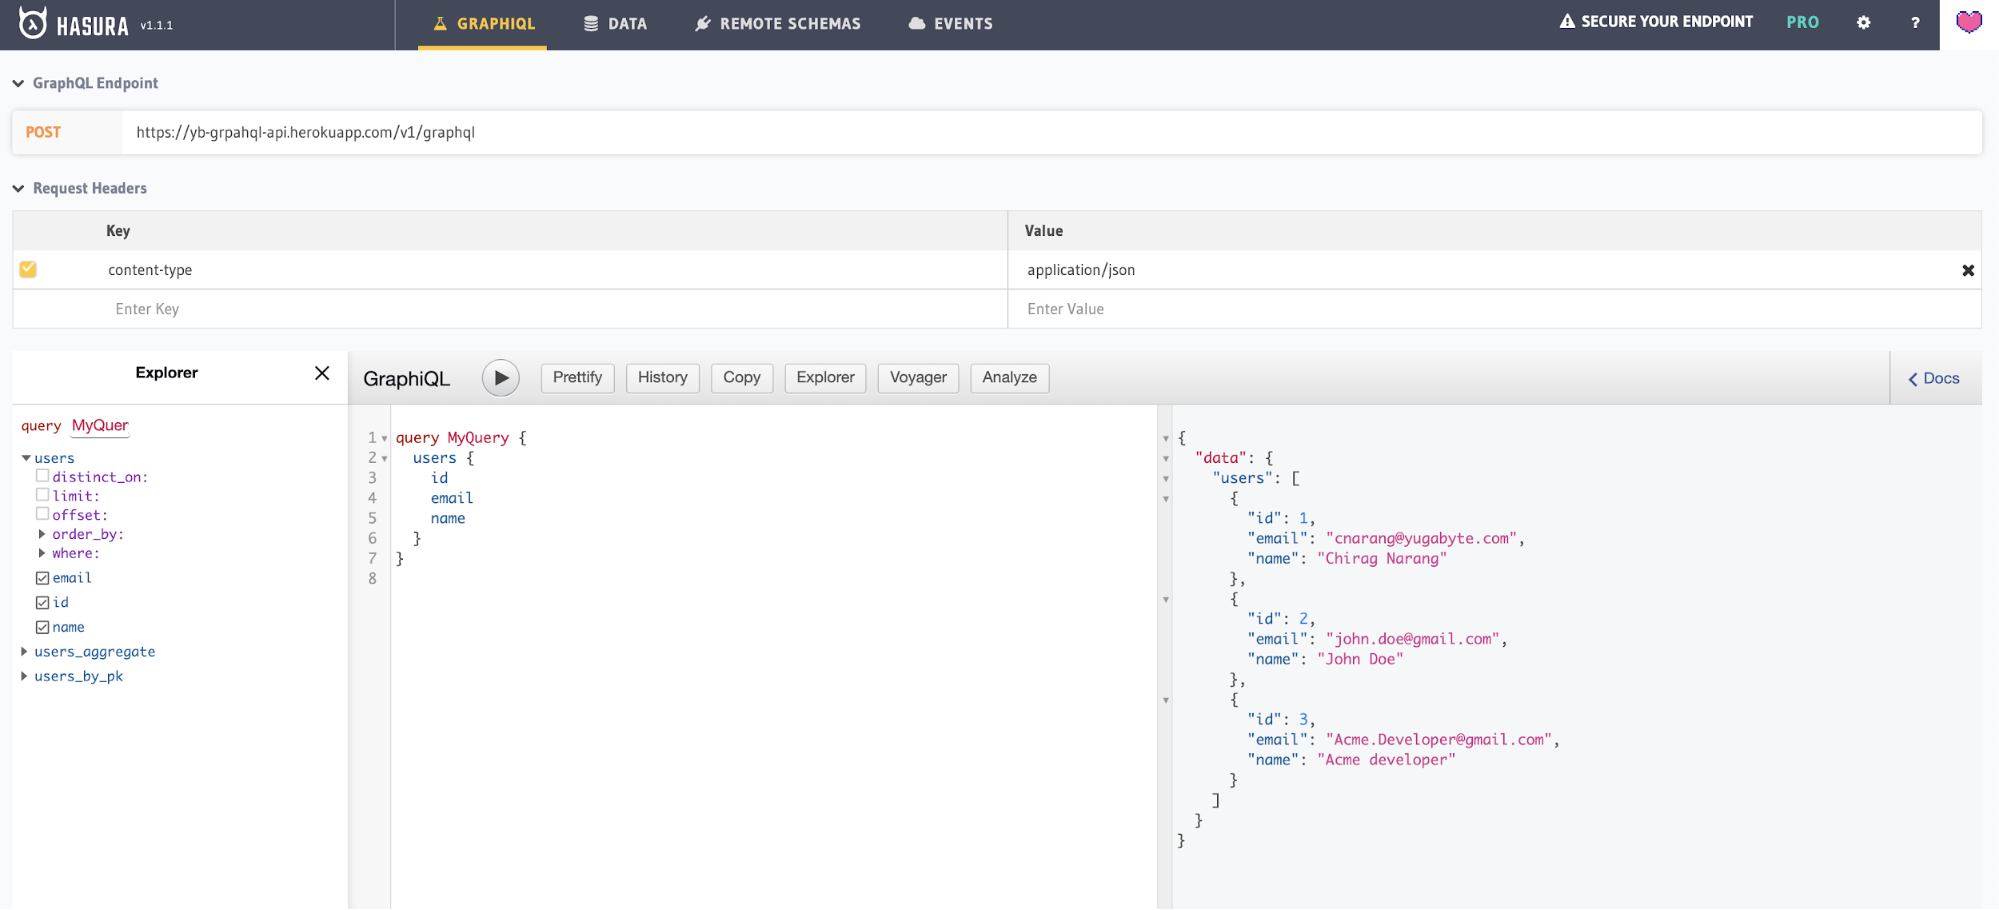
This confirms that data has been persisted in the database. That’s it, we are now ready to access our cluster in Yugabyte Cloud to connect and explore the dataset.
Accessing your YugabyteDB cluster
In your Heroku app dashboard, click the Yugabyte Cloud add-on to sign into an SSO session for the Yugabyte Cloud dashboard.
Tip: You can also reach this page via the Heroku CLI:
$ heroku addons:open yugabyte-cloud
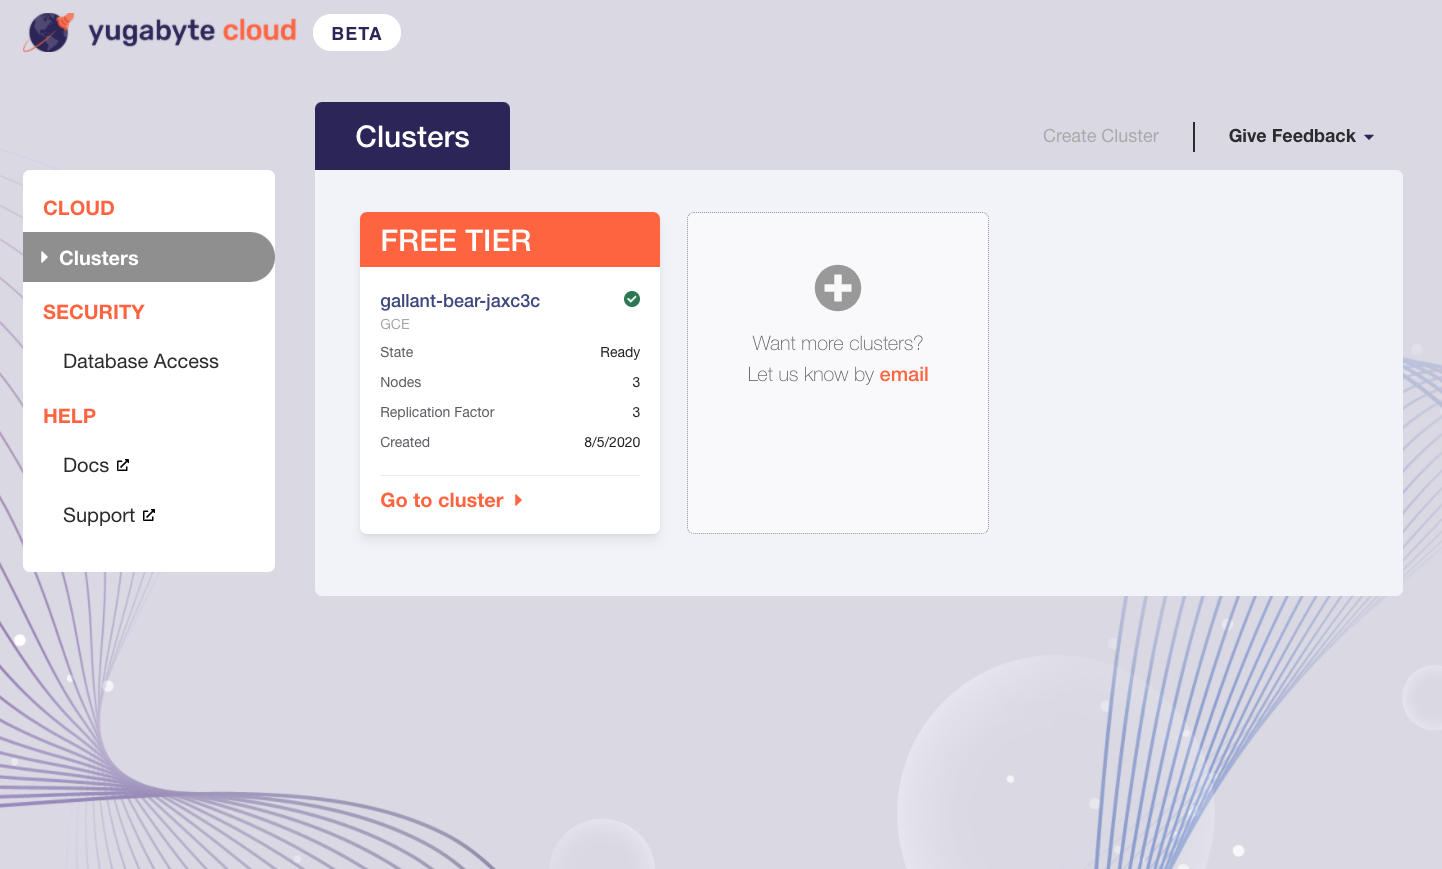
Click on “Go to cluster”. You should now be redirected to the UI for this particular cluster. From this screen you can explore configuration, resource usage, objects, pods, metrics, and other information about the YugabyteDB cluster.

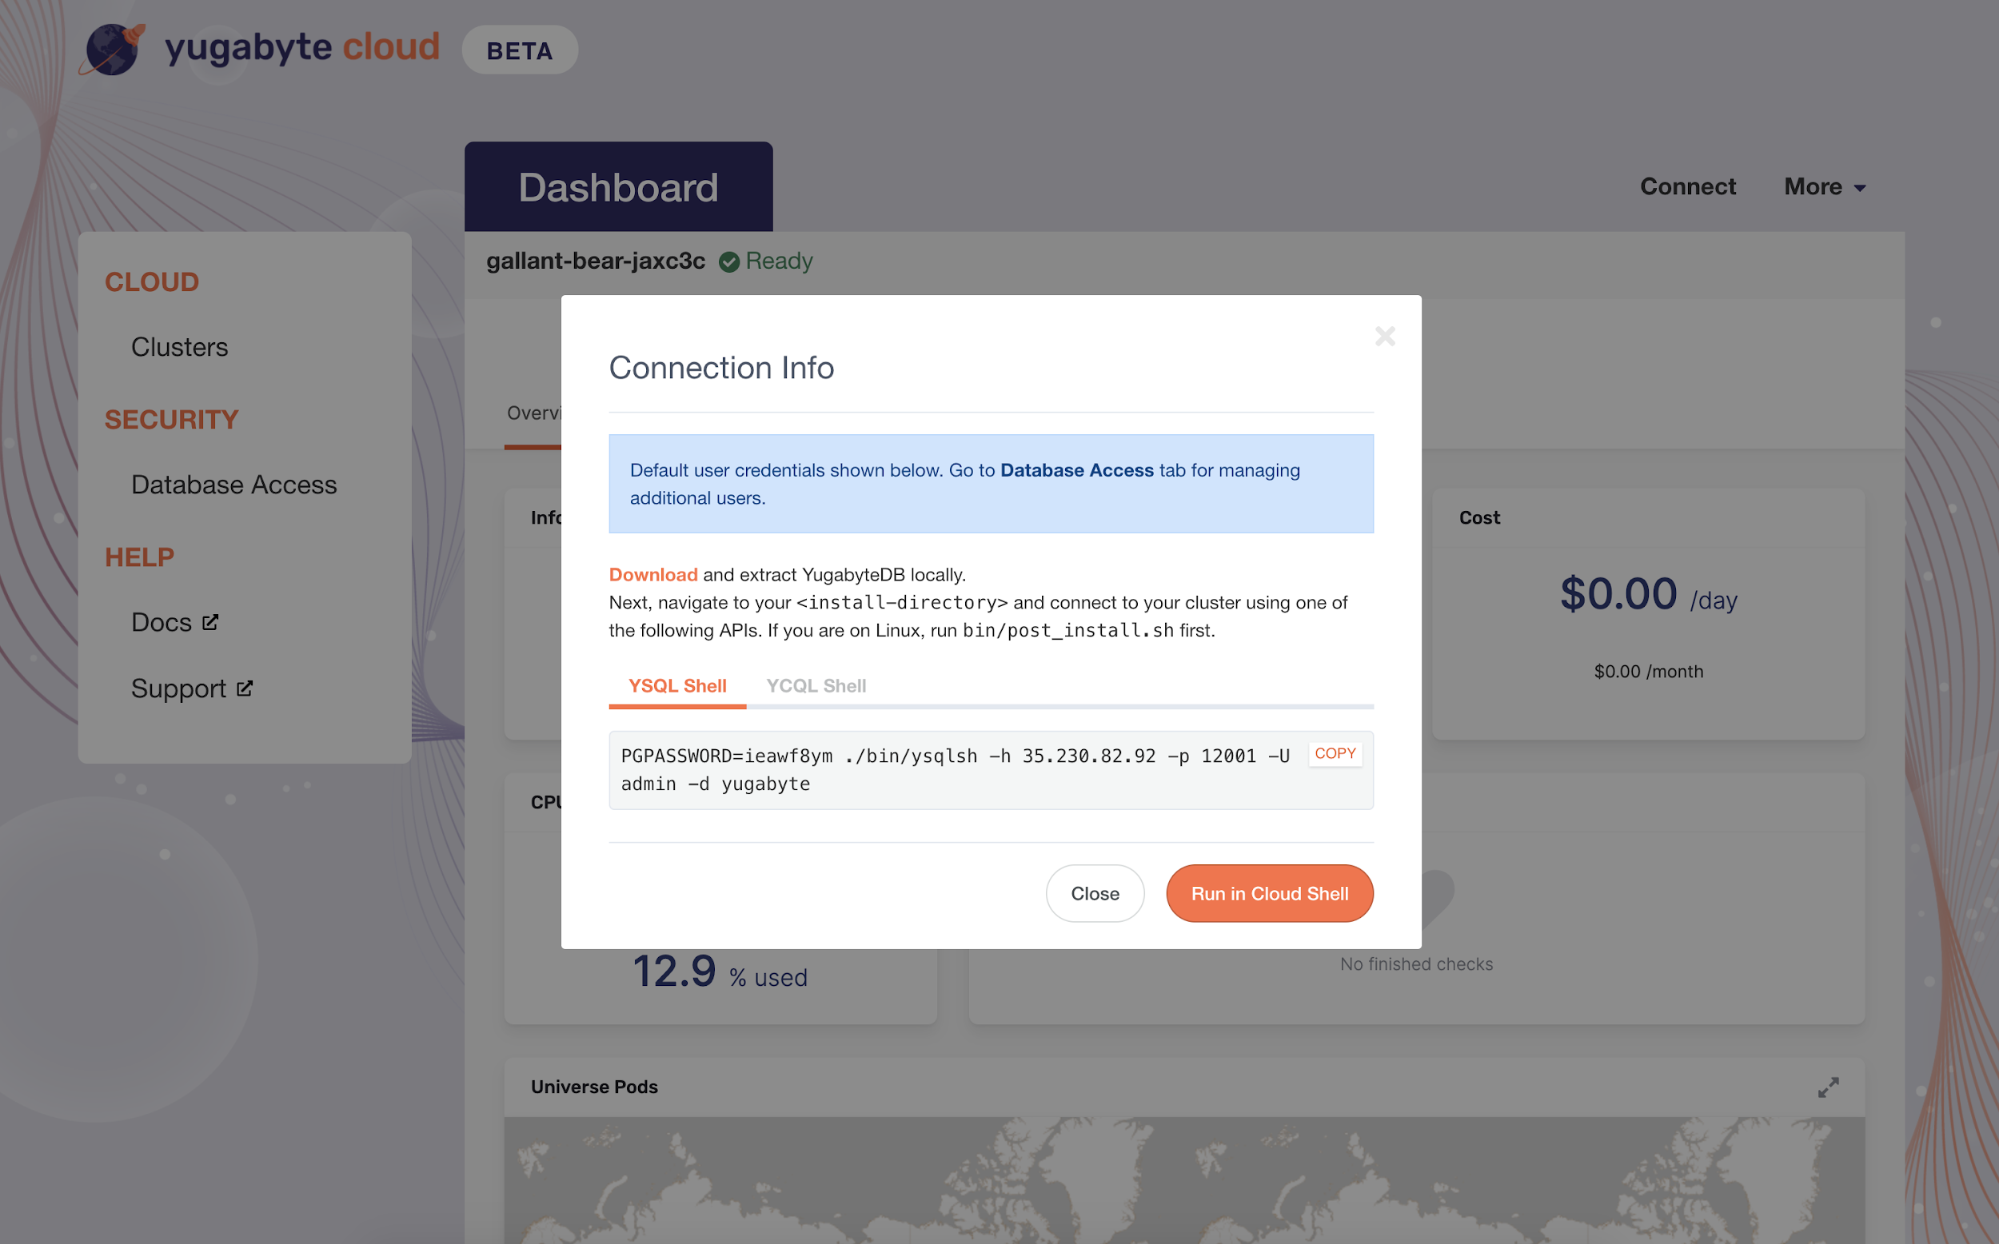
The next thing that we’ll want to do is to connect to this cluster, look for the “Connect” button in the upper right-hand corner. This will serve up a pop-up with the database connection information and credentials for connecting manually and also an option to launch the new cloud shell.
TIP: You can also get the connection string using Heroku CLI
$ heroku config:get YUGABYTE_CLOUD_DATABASE_URL --app APP_NAME
YUGABYTE_CLOUD_DATABASE_URL => postgres://admin:your_password@your_ip_address:9433/yugabyte
Use this URL with any application or client library that is PostgreSQL-compatible.
Click the “Run in Cloud Shell” to open the cloud shell in a new tab. You should be able to run queries directly on your database.
When the cloud shell is launched you’re automatically logged in and connected to the database, we will use ysqlsh commands for interacting with the database.
Let’s look at the schema of the users table. You can do this as follows:
ysqlsh (11.2-YB-2.2.0.0-b0)
Type "help" for help.

yugabyte=# \d users
                            Table "public.users"
 Column |  Type   | Collation | Nullable |              Default
--------+---------+-----------+----------+-----------------------------------
 id     | integer |           | not null | nextval('users_id_seq'::regclass)
 name   | text    |           | not null |
 email  | text    |           | not null |
Indexes:
    "users_pkey" PRIMARY KEY, lsm (id HASH)
To see all the data persisted inside the users table from the Hasura application, you can run the following query.
yugabyte=# SELECT * FROM users;
 id |      name      |          email
----+----------------+--------------------------
  1 | Chirag Narang  | cnarang@yugabyte.com
  2 | John Doe       | john.doe@gmail.com
  3 | Acme developer | Acme.Developer@gmail.com
(3 rows)
That’s it! You can now create databases and objects, and manipulate data in the terminal with YSQL or in your favorite GUI tool in a YugabyteDB cluster hosted on Yugabyte Cloud. Because YugabyteDB is PostgreSQL wire compatible, just about any database administration tool that supports PostgreSQL will work with YugabyteDB.
Building a cloud native database experience
There’s never been a better time to see how a cloud native database can radically change the ease and ubiquity of your interactions with the cloud. If you want to try out a robust, highly available database without any upfront infrastructure investment, and with easy-to-use APIs for SQL and NoSQL workloads, you can certainly have a closer look at YugabyteDB on Heroku.
The Yugabyte Cloud is in public beta, and we’re very interested in collecting feedback. We are keenly focused on bringing an integrated developer experience before we reach general availability, so please try the beta and share your thoughts with us. If you have any ideas, comments, or support questions, the Yugabyte team would love to hear from you.
What’s next
- Explore YugabyteDB features
- Install YugabyteDB on your local machine and try out YSQL from our docs
- Contact us to learn more about licensing, pricing, or to schedule a technical overview


