Automating YugabyteDB Deployments with AWS CloudFormation
March 19, 2020
YugabyteDB is easy to get started with on the infrastructure of your choice including public cloud platforms, private cloud environments, and any Kubernetes distribution. For example, you can quickly customize and deploy in AWS thanks to CloudFormation templates. AWS CloudFormation is one of the many ways to automate a public cloud deployment in a consistent manner.
Before we dive in, we wanted to let you know that the Yugabyte team has been working from home in order to do our part with social distancing and to help with containment efforts. We have also transitioned to online meetings with our customers, partners, candidates, community, and fellow Yugabeings. We will continue with these and other measures until it’s determined to be safe otherwise. We wish everyone the best health and wellness, and our thoughts are with all those around the world who have been affected by COVID-19. If during these unprecedented circumstances, you have some time or would welcome a brief distraction, we invite you to check out this post below.
A principal concern for service availability is the capability to survive a given physical outage. Public clouds are designed with availability zones (AZs) so that customers can recognize and architect solutions that will have high availability even with an outage of an entire AZ. A legacy SQL database would need special add-on software components and most likely be re-architected to leverage a multi-AZ active-active or active-passive scenario. YugabyteDB’s distributed SQL architecture is specifically designed for resilience, scalability, and geo-distribution in dynamic infrastructure environments such as VMs and containers. Using AWS CloudFormation as a template, you can easily automate YugabyteDB deployments in your own AWS account.
AWS CloudFormation Configuration for YugabyteDB
AWS CloudFormation templates are stored conveniently in plain-text YAML format. If you open the sample YAML file in a text editor, you can review the defaults and proposed configuration:
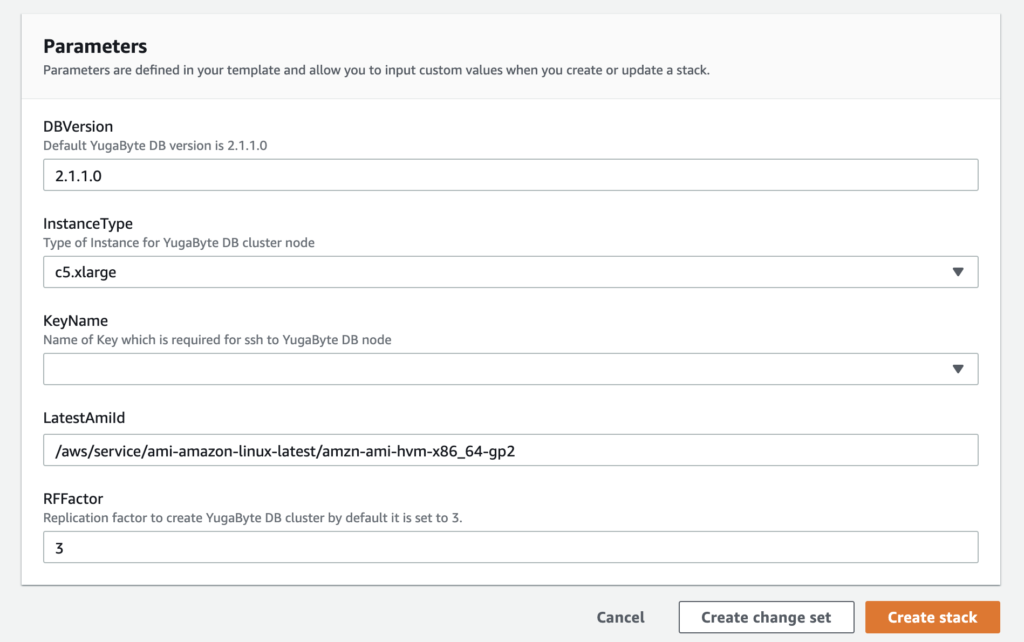
- YugabyteDB Version: YugabyteDB’s template should be deployed with our latest software version which downloads and installs from our download.yugabyte.com repo.
- Replication Factor (RF): This is set to 3 which means every tablet (aka shard) will have 3 replicas. In order to ensure fault tolerance against node failures, this setting will also lead to the creation of 3 AWS EC2 nodes with one replica placed on each node.
- KeyName: AWS assigns keypairs for accessing individual nodes in AWS public cloud infrastructure. You can review how to setup keypairs here.
- LatestAmiId: YugabyteDB is built on Linux and our template helpfully uses a reference to deploy the latest version of Amazon Linux 2.
- VPC: This CloudFormation template will create its own VPC to host the YugabyteDB cluster. Ensure you have capacity to create an additional VPC within your AWS quota. Customers can request a quota increase if necessary. If you cannot create a new VPC, then make sure to edit the template to use an existing VPC.
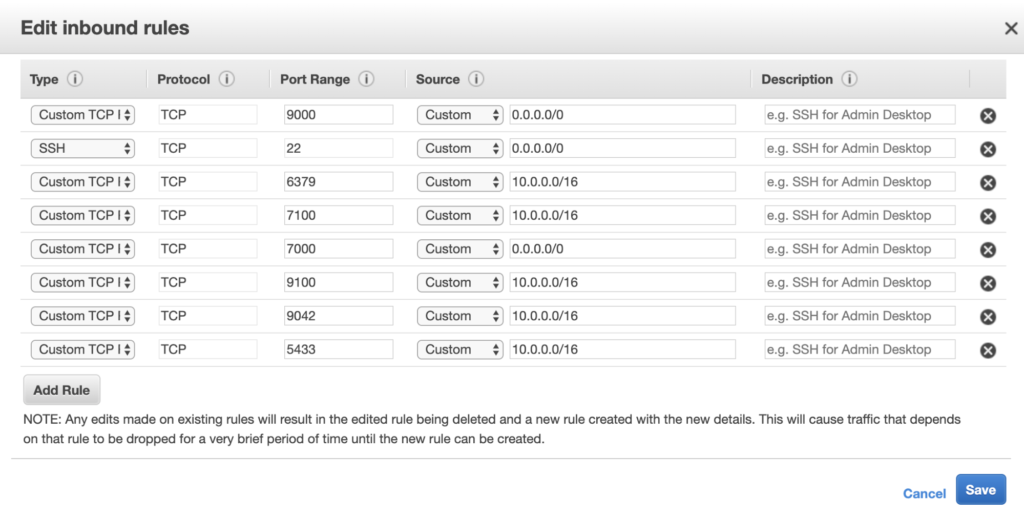
- YugaByteNodeSG: YugabyteDB nodes will be deployed with a consistent security group configuration across 3 AZ’s and public subnets. This security group will open the database server RPC ports (7100 and 9100) and the database server API ports (5433, 6379, and 9042) internally across the subnets. It will also open the management ports (22, 7000, and 9000) external to the subnets. A list of default ports used on a YugabyteDB cluster are available here.
- BlockDeviceMappings: Each YugabyteDB node will have a 50GB EBS volume attached. This can be customized for larger storage. For AWS instances with faster storage such as i3 and NVMe storage, you can format and use this storage as a disk for your database files.
Now that we’ve stepped through the essential components of our configuration, let’s see how easy it is to use this in practice.
Deployment Steps
Prerequisites
- An AWS account with permissions for creating EC2 instances and utilizing CloudFormation. AWS and Yugabyte recommend granting the “Least Privilege” possible within IAM roles. A sample policy would at least include the following to be able to instantiate a YugabyteDB cluster within AWS:
- AWS billing info. While there’s no cost for deploying YugabyteDB, there may be charges associated with your AWS on-demand instances and AWS services used. You can use the AWS pricing pages and calculator to understand the total cost involved. For example, the default (3) c5.xlarge instances involved would cost $0.51 per hour.
- If you prefer a “one-click” approach, you can skip ahead directly to the TLDR to deploy an AWS CloudFormation template from a link in our GitHub repo documentation.
Steps
[1] Download the AWS CloudFormation YAML file as shown below.
wget https://raw.githubusercontent.com/yugabyte/aws-cloudformation/master/yugabyte_cloudformation.yaml
[2] Login to your AWS console and go to the CloudFormation UI.
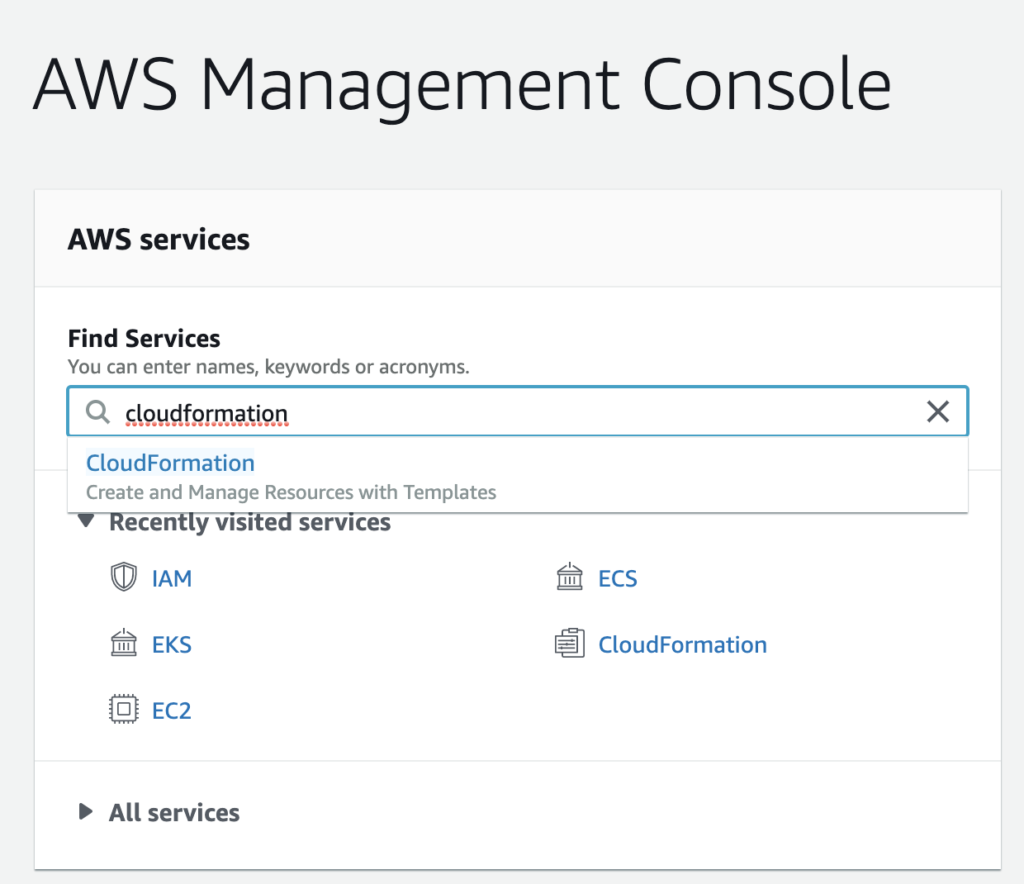
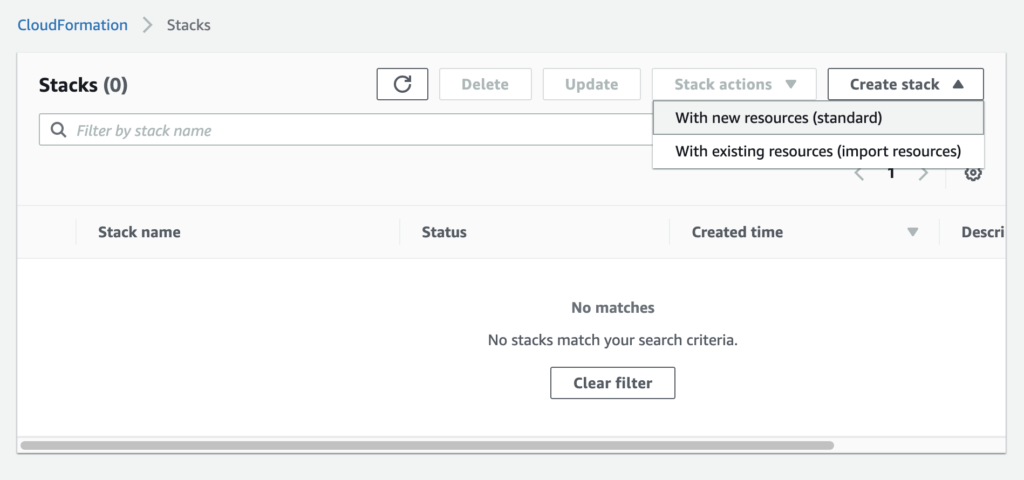
[3] Click on “Create Stack”.
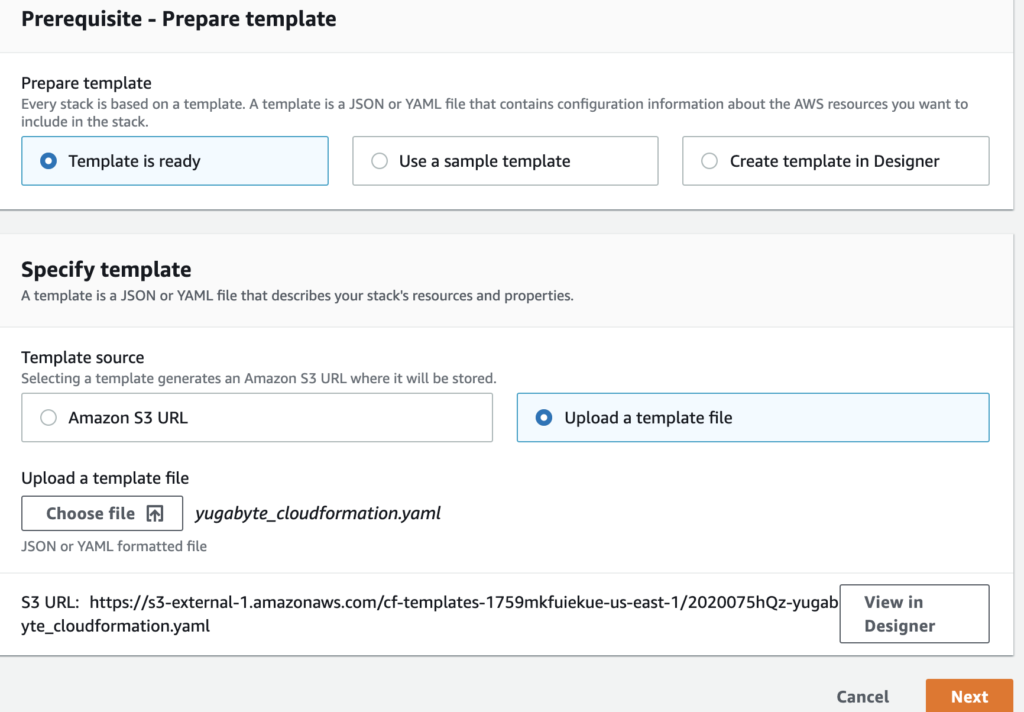
[4] To prepare a template, upload the “yugabyte_cloudformation.yaml” file from the repo directory.
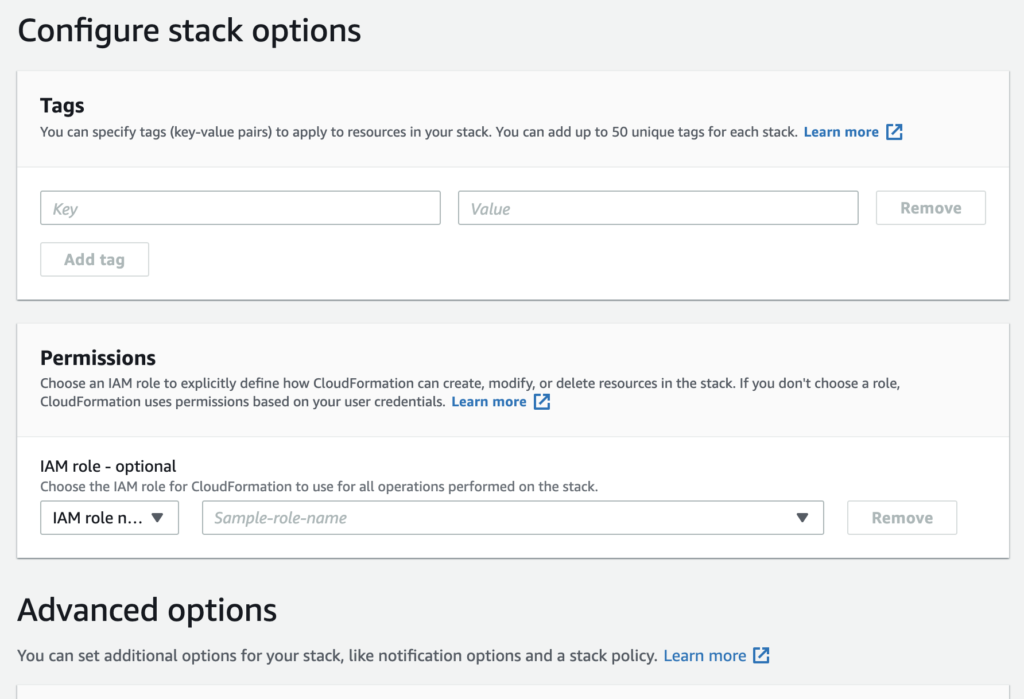
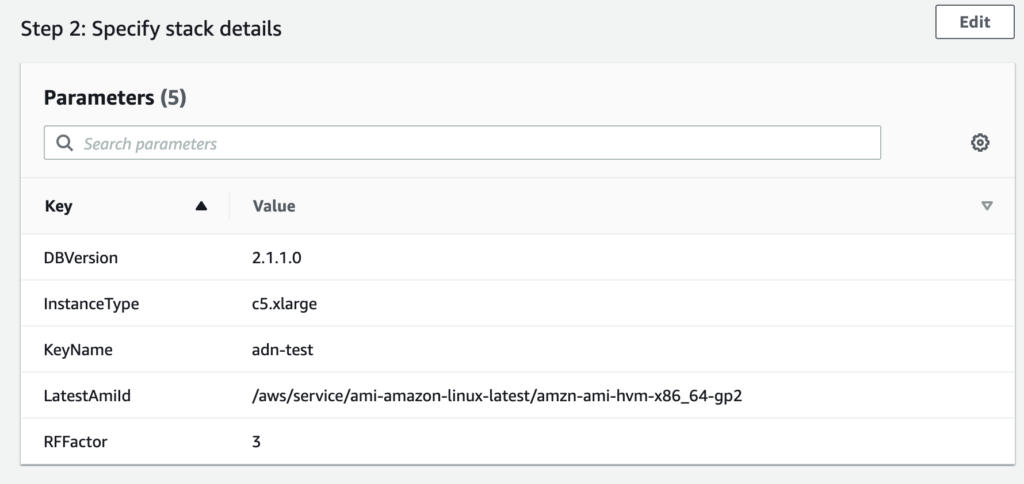
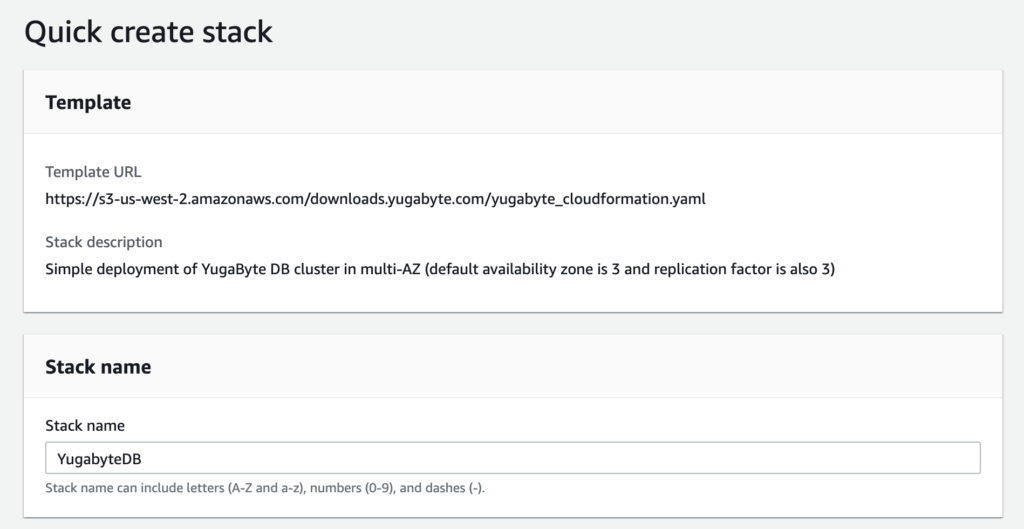
[5] Set a CloudFormation stack name and confirm the YugabyteDB version, instance size, user keypair (for interactive SSH login), AMI-ID, and replication factor. The example YAML file will have some of this information set already. If you would like a different instance size or base linux OS, you can customize that within the YAML file and re-upload.

[6] You can choose to customize any additional stack options at this point, but YugabyteDB has enough information to complete its deployment.
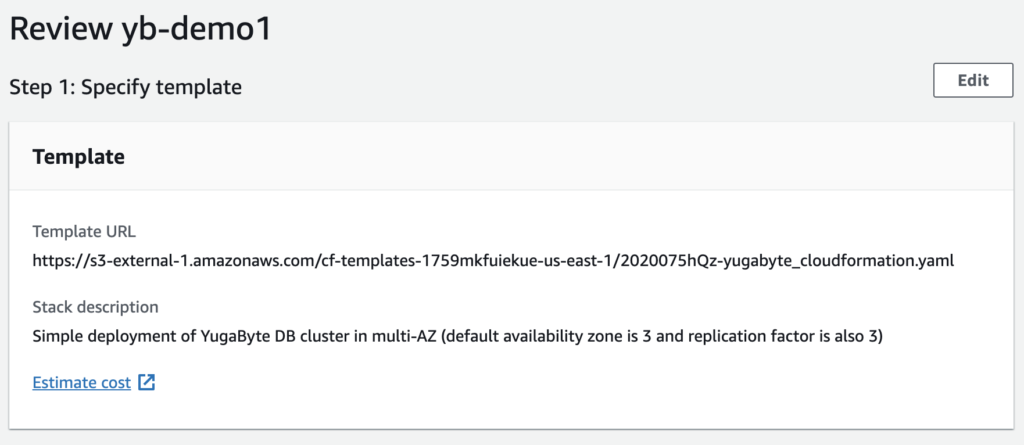
[7] Before deployment, you can review all of your setup options as well as open another browser window to the AWS cost estimate.
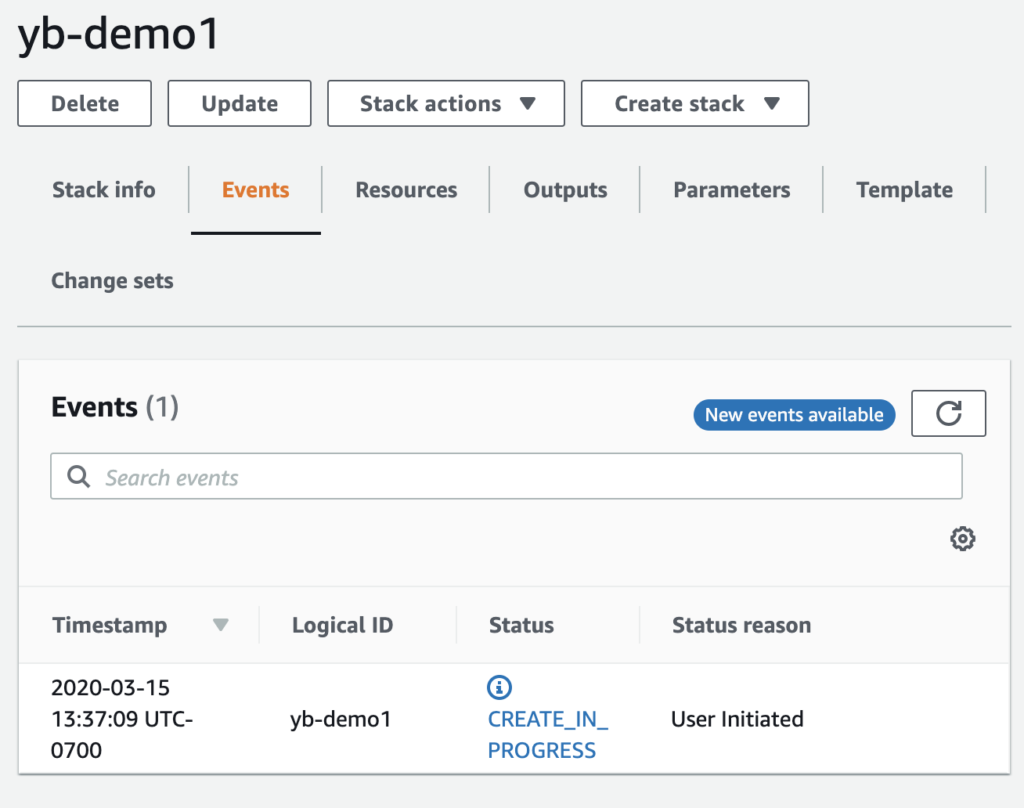
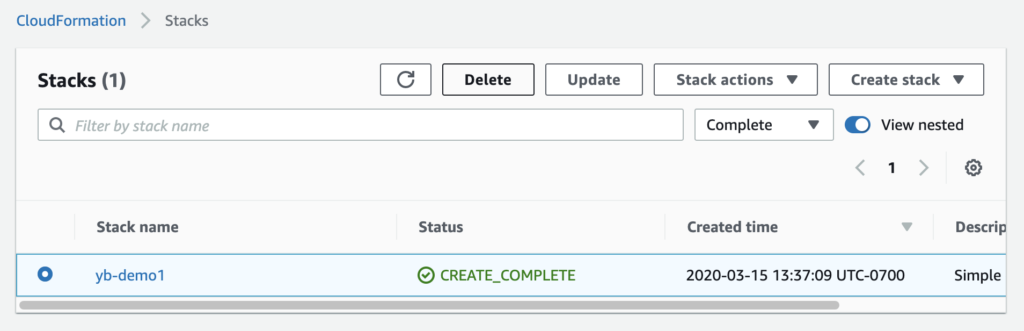
[8] You can view the CloudFormation deployment progress in the UI and refresh as necessary.
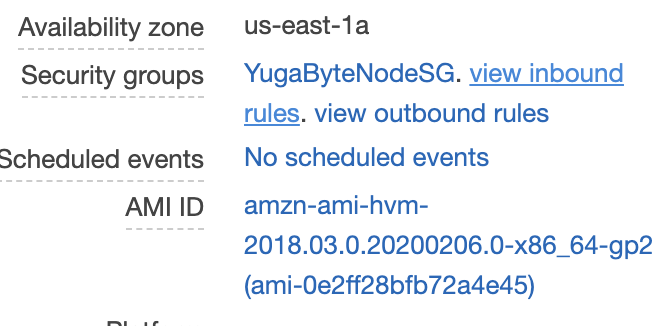
[9] Once CloudFormation is finished creating and starting up the individual virtual machines, you can confirm the specific instance information in the EC2 UI.

[10] When you click on any of the nodes, you can see that they are part of the same YugaByteNodeSG.
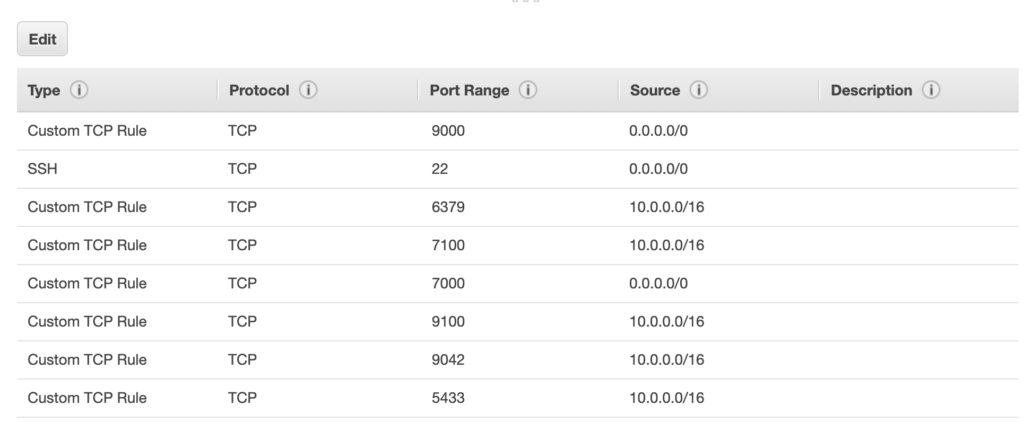
[11] If you want to customize the security group for accessing the YSQL client port, you can update the YugaByteNodeSG in place.
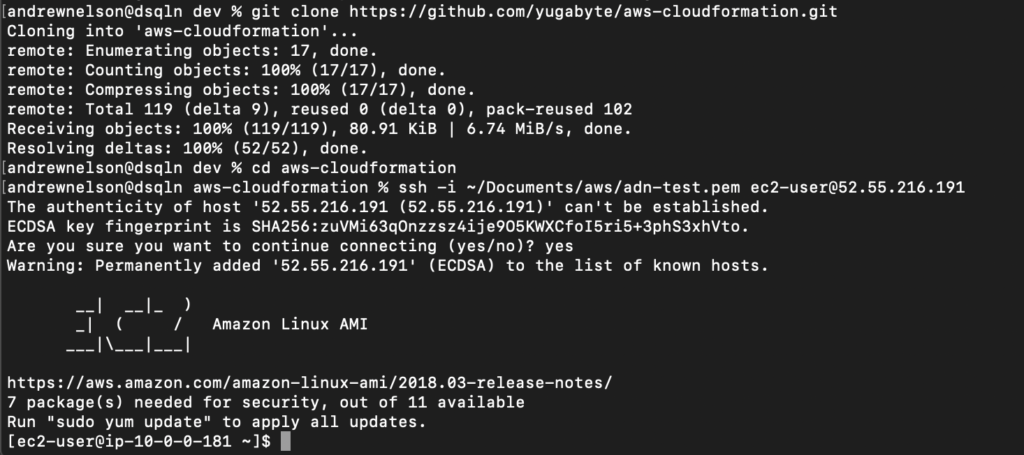
[12] You can log in to a given node using the public node IP as well as the keypair credentials you specified during the CloudFormation template setup.
[13] Now that you’re up and running with YugabyteDB in multiple AZ’s, you can use any of our other examples to test the distributed SQL database. For example, you could upload and experiment with the sample Northwind database.
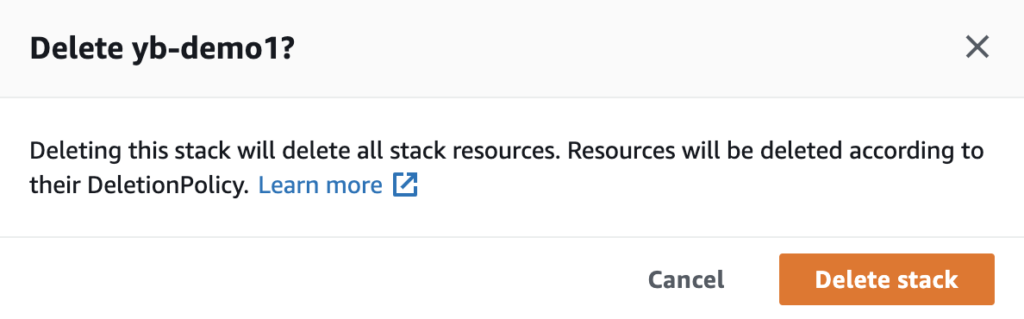
[14] Once you are ready, it is easy to deprovision the YugabyteDB cluster. Go back to the CloudFormation UI, select the stack, and click on “Delete”.
![]()
TLDR
As a simpler option, if you would like to simply try a “one-click” approach to deploying YugabyteDB with CloudFormation, there is a link on our GitHub repo that launches you directly into the AWS CloudFormation template.
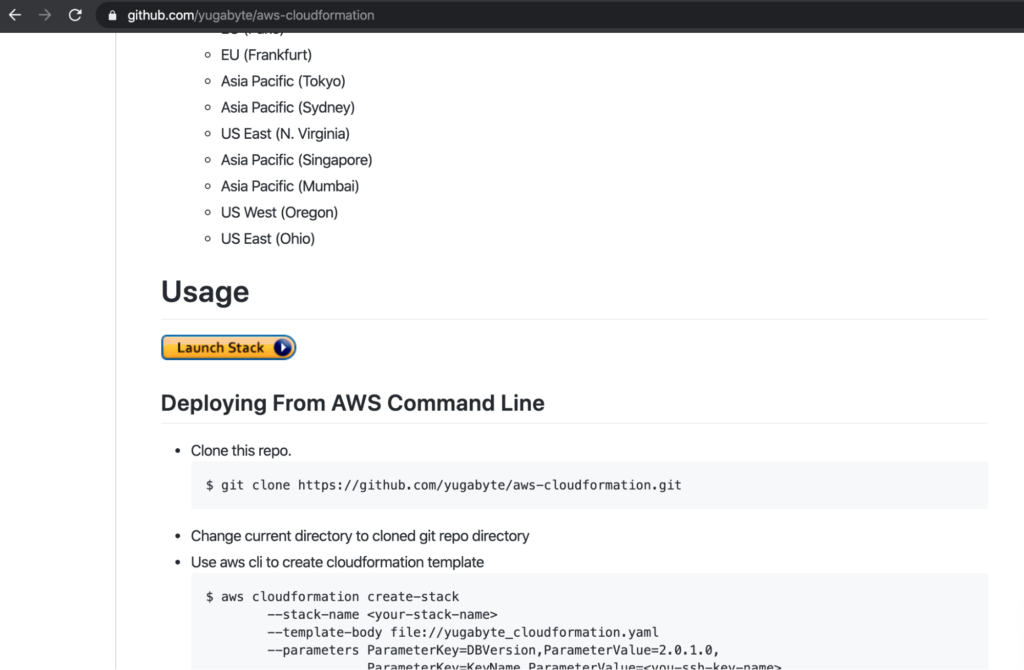
When you click on “Launch Stack” you will be redirected to your AWS console. After logging in with your AWS account and selecting your region, you will have easy access to all of the configuration options on a single page.
Conclusion
That’s all there is to creating a simple YugabyteDB deployment in AWS. Spinning up a scalable and resilient distributed SQL database for cloud native application development has never been easier. The example shown here can be re-used to create multiple clusters or to quickly provision and deprovision clusters for additional testing. You can also customize and update your deployment configuration using the provided YAML file as a starting point.


