Getting Started with JetBrains DataGrip on a Distributed SQL Database
February 24, 2020
If you’re a database developer, you know the time saving value of an IDE in helping you create and navigate database objects, plus query and edit data from single UI. DataGrip from JetBrains is a well-rounded, visual database tool that supports almost 20 SQL and NoSQL databases from a single interface. And because YugabyteDB is PostgreSQL compatible, getting DataGrip to work with a distributed SQL database is relatively simple. In this post we’ll show you how to get DataGrip connected to a YugabyteDB cluster, use it to build a sample database, load it up with data and browse it.
What’s YugabyteDB? It is an open source, high-performance distributed SQL database built on a scalable and fault-tolerant design inspired by Google Spanner. Yugabyte’s SQL API (YSQL) is PostgreSQL wire compatible.
Introducing DataGrip

DataGrip boasts many of the must-have features you’d expect from a database GUI tool including:
- Support for Multiple Databases – DataGrip is the multi-engine database environment. If the DBMS has a JDBC driver you can connect to it via DataGrip. It provides database introspection and various instruments for creating and modifying objects for the supported engines.
- Database Objects – DataGrip introspects all objects in your databases and displays them in folders grouped by schemas. It also provides a UI for adding and editing tables, columns, indexes, constraints, etc.
- Database Editor – The powerful data editor lets you add, remove, edit, and clone data rows. Navigate through the data by foreign keys and use the text search to find anything in the data displayed in the data editor.
- Navigation – Quick navigation takes you to an object independent of whether it has just been created in your code, or it has already been read from a database. Navigate to the symbol action which lets you find objects by their name.
- Writing SQL – DataGrip boasts a smart text editor, code completion, automatic code generation, code analysis, refactoring, and a variety of visual themes to suit your preferences.
- Additional Features – DataGrip also has a query console, diff viewer, import/export wizards, VCS, and ER diagramming capabilities.
JetBrains offers a 30 day free trial, so you can try all the features before deciding if you’d like to sign on for a commercial subscription, which is very reasonably priced. Ok, let’s dive in and get DataGrip installed and connected to a YugabyteDB cluster!
Step 1: Install a Local YugabyteDB Cluster
Before we get into DataGrip, you’ll need to setup YugabyteDB and install a sample database. Although for the purposes of this blog post we’ll be installing everything on a macOS, both YugabyteDB and DataGrip support most major operating systems.
For complete instructions on how to get up and running on a variety of platforms including prerequisites, check out our Quickstart Guide. In the following section we’ll cover the basic steps for getting up and running in just a few minutes with a local 3 node cluster on your Mac laptop.
Download and Extract YugabyteDB
$ wget https://downloads.yugabyte.com/yugabyte-2.0.11.0-darwin.tar.gz
$ tar xvfz yugabyte-2.0.11.0-darwin.tar.gz && cd yugabyte-2.0.11.0/
Note: At the time of this writing, 2.0.11 is the latest release of YugabyteDB. Make sure to check the Quickstart Guide for the latest version.
Configure Loopback Addresses
Add a few loopback IP addresses for the various YugabyteDB processes to use.
$ sudo ifconfig lo0 alias 127.0.0.2
$ sudo ifconfig lo0 alias 127.0.0.3
$ sudo ifconfig lo0 alias 127.0.0.4
$ sudo ifconfig lo0 alias 127.0.0.5
$ sudo ifconfig lo0 alias 127.0.0.6
$ sudo ifconfig lo0 alias 127.0.0.7
Create a 3 Node Cluster
With the command below, create a 3 node cluster with a replication factor of 3.
$ ./bin/yb-ctl --rf 3 create
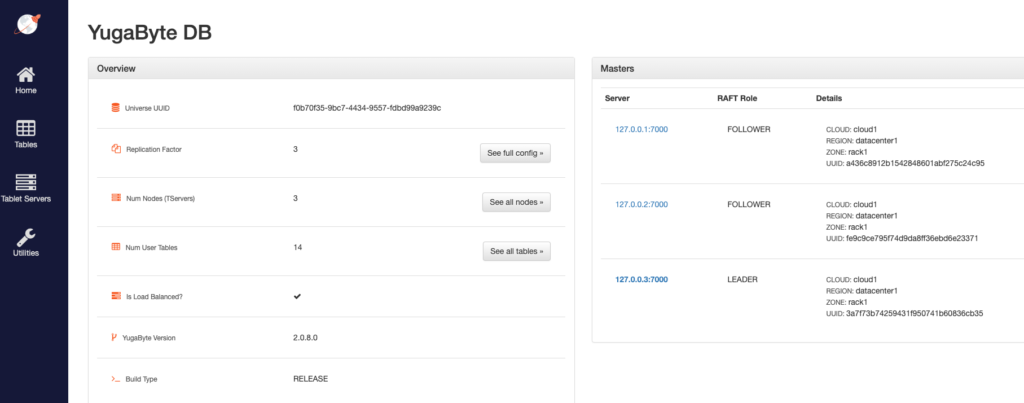
You can verify that your cluster is up and running by checking out the YugabyteDB Admin UI which is located at:
https://127.0.0.1:7000/
Step 2: Download and Install DataGrip
DataGrip can be downloaded from their website here:
https://www.jetbrains.com/datagrip/
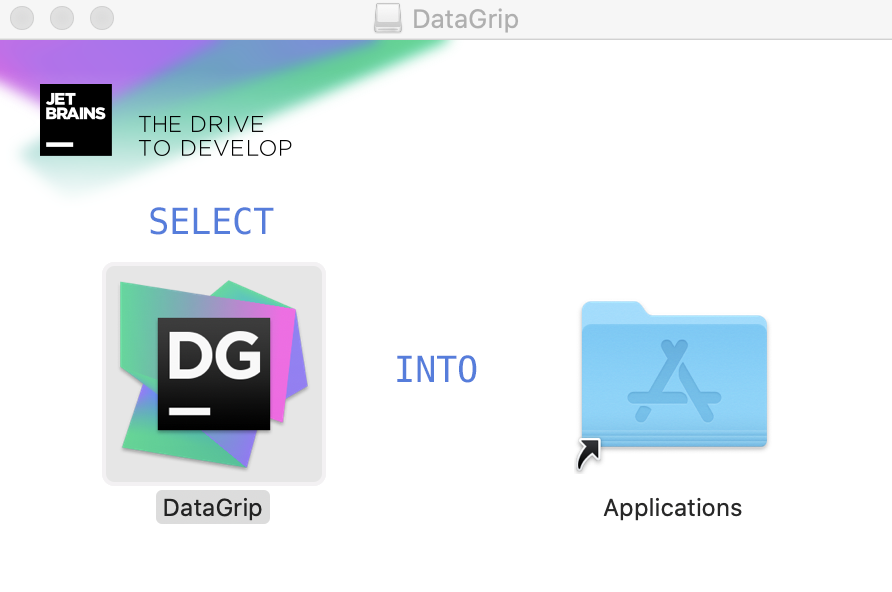
As of this writing, version 2019.3.3 is what was tested against YugabyteDB. The installation is as simple on Mac as you’d expect.
Step 3: Connecting DataGrip to YugabyteDB
Next, you’ll want to configure a new database connection. Click on “+” > Datasource > PostgreSQL.
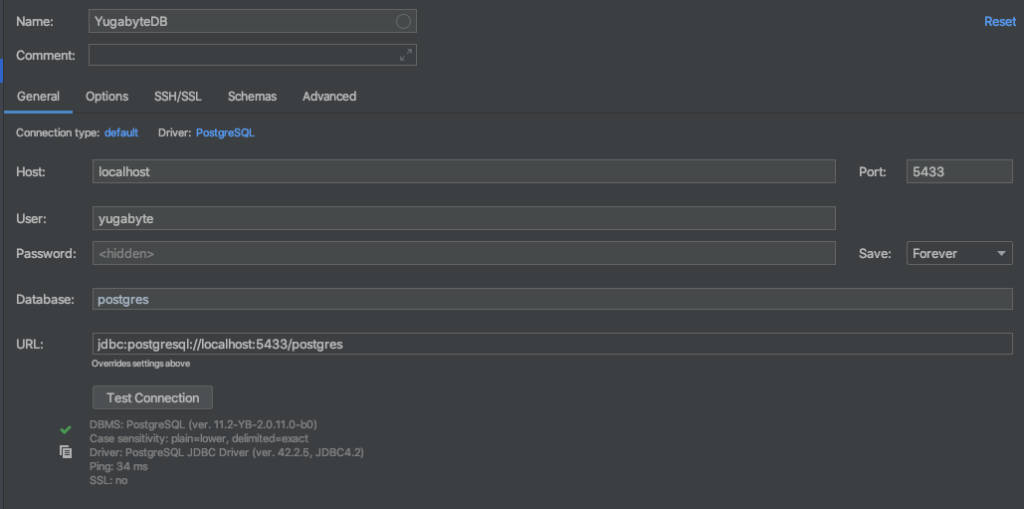
Configure the connection to YugabyteDB using the following values:
- Name: YugabyteDB
- Server Host or IP: localhost
- Port: 5433 (Note that PostgreSQL’s default port assignment is 5432, while YugabyteDB uses 5433)
- Database User: “yugabyte” is YugabyteDB’s default user
- Password: None (by default)
- Database: “postgres”
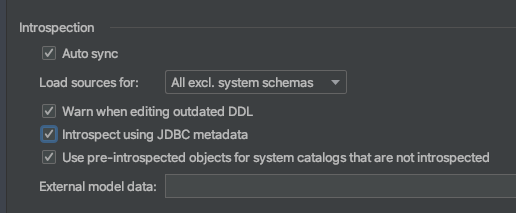
On the “Options” tab you’ll want to check the “Introspect using JDBC metadata” box. YugabyteDB does not use PostgreSQL’s system columns given that these functions are handled by the DocDB storage engine of YugabyteDB. This option makes DataGrip’s PostgreSQL connector use standard JDBC metadata as opposed to PostgreSQL specific metadata.
Of course, it is always a good idea to test the connection to make sure everything is set up correctly before proceeding. Click the OK button and you are now ready to start exploring DataGrip.
Step 4: Create the Northwind Database
For the purposes of this blog post we’ll be using the Northwind sample database. You can download the DDL and data scripts here. Once you have downloaded the files, building the Northwind database on YugbyteDB is simple:
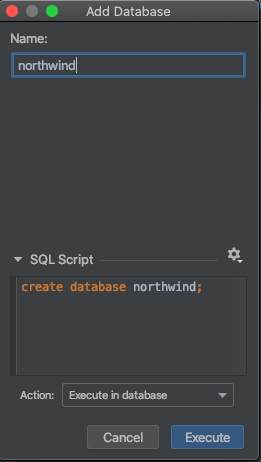
Open up a New Console in DataGrip and Create the Northwind Database
Right-click on YugabyteDB in the tree and select New Database. Name it northwind and execute.
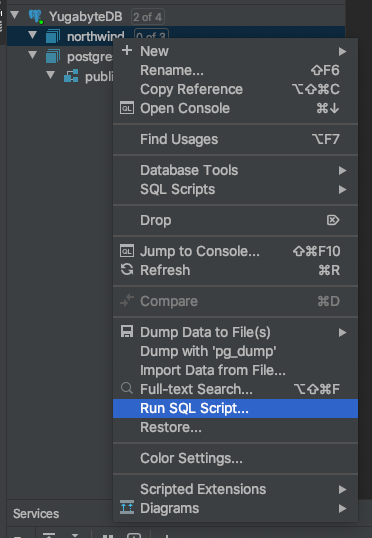
Build the Northwind Tables and Objects
Click on YugabyteDB > northwind > Run SQL Script and load the DDL script to create the Northwind database objects.
At the end of the script execution you should see something like:
[2020-02-21 15:02:04] 0 row(s) affected in 449 ms
[2020-02-21 15:02:04] Summary: 37 of 37 statements executed in 13 s 333 ms (5204 symbols in file)
Load the Northwind Database with Data
Once again, click on YugabyteDB > northwind > Run SQL Script and load the DML script to load the Northwind database with data.
At the end of the script execution you should see something like:
[2020-02-21 15:04:55] 362 row(s) affected in 715 ms
[2020-02-21 15:04:55] Summary: 3371 of 3371 statements executed in 9 s 940 ms (330592 symbols in file)
Step 5: Test Drive DataGrip against a YugabyteDB Cluster
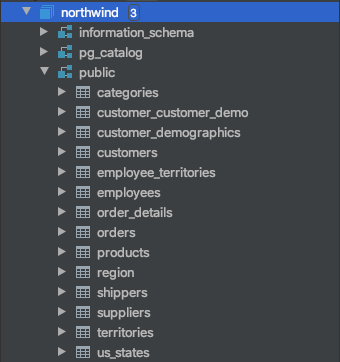
The first thing we can look at is a tree view of our database objects.
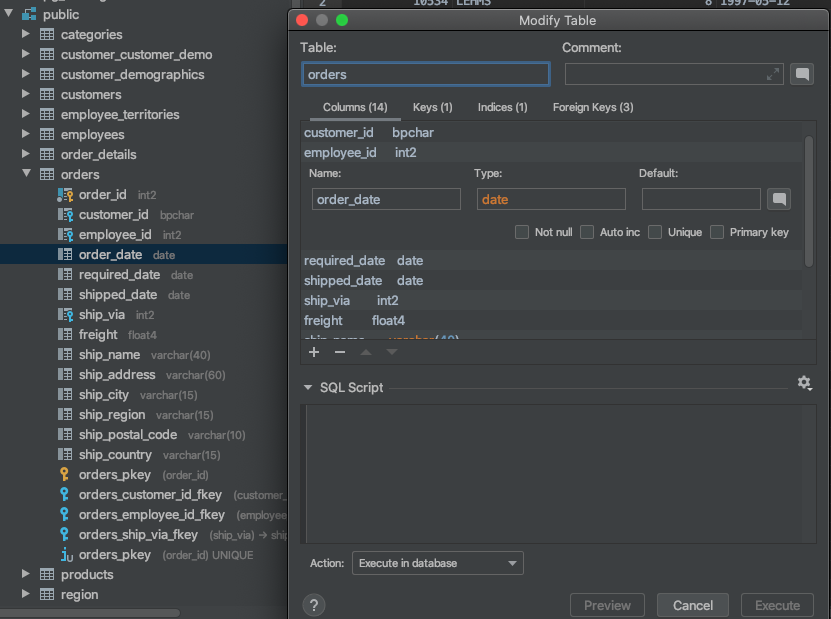
Expanding out a table allows us to inspect column properties and other attributes.
We can view the data in a table by simply double-clicking on a table in the tree.

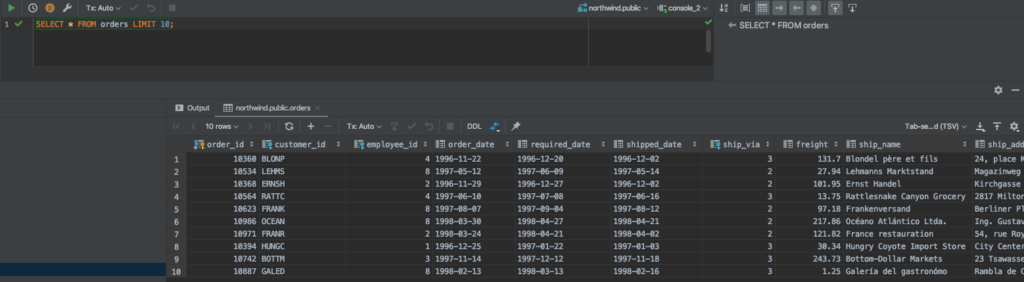
Finally, we can run queries against the database by right clicking on northwind in the tree and selecting a New Console. For example, below we issued:
SELECT * FROM orders LIMIT 10;
That’s it! You can learn more about DataGrip’s features here, plus work through some of their tutorials on their Docs site.
What’s Next?
- Compare YugabyteDB in depth to databases like CockroachDB, Google Cloud Spanner, and MongoDB.
- Get started with YugabyteDB on macOS, Linux, Docker, and Kubernetes.
- Contact us to learn more about licensing, pricing, or to schedule a technical overview.


")