Getting Started with Distributed SQL on YugabyteDB Managed
February 27, 2020
With the release of YugabyteDB 2.1 earlier this week, we introduced many exciting new features: performance optimizations, 2DC and read replica support, and more. We also announced that YugabyteDB Managed (formerly Yugabyte Cloud) is now officially in Beta! In this blog post we’ll show you how to quickly get up and running with a YugabyteDB cluster on YugabyteDB Managed, build a sample database, and connect to it with JetBrain’s DataGrip database administration tool.
In the event you are new to distributed SQL, you might be asking yourself, “What is YugabyteDB?”
YugabyteDB is an open source, high-performance distributed SQL database built on a scalable and fault-tolerant design inspired by Google Spanner. Yugabyte’s SQL API (YSQL) is PostgreSQL wire compatible.
YugabyteDB Managed is a fully-managed “YugabyteDB-as-a-Service” that allows you to run clusters on either Amazon Web Services or Google Cloud Platform. Right now we are offering a free tier for users to quickly get started with YugabyteDB. Although not suitable for production workloads, the free tier includes enough resources to start exploring the basic features required for developing apps with YugabyteDB. Here’s what you get:
- 3 nodes
- 5 GB of storage
- High availability across multiple zones
- Management UI
- REST API
- Automated upgrades
Ok, let’s get started!
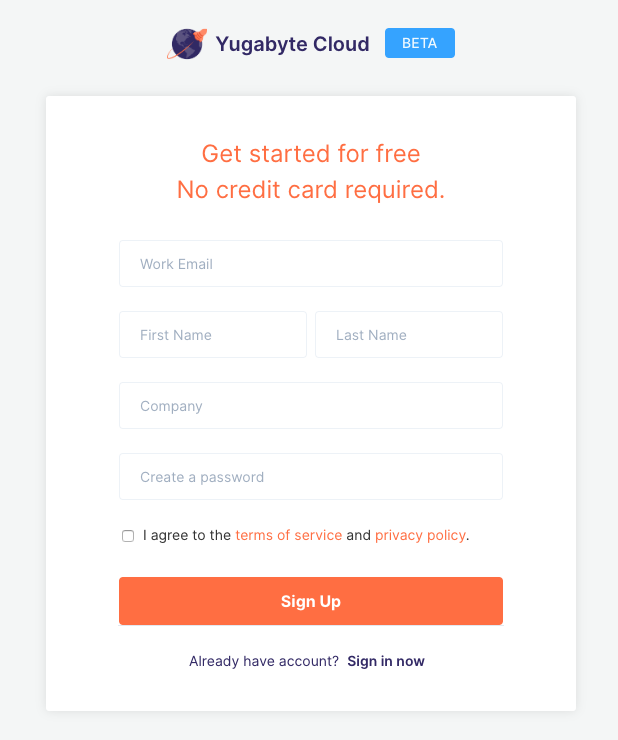
Create an account
Once you have your free tier, head on over to https://cloud.yugabyte.com/register and set up your free account.
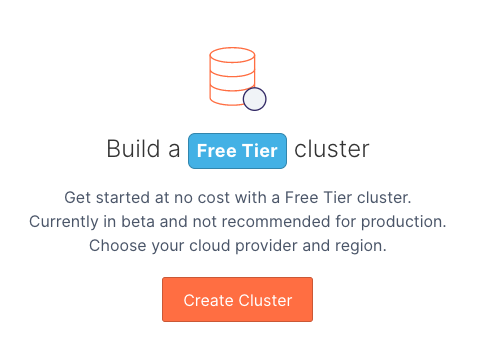
Provision the cluster
Next click on the “Create Cluster” button.
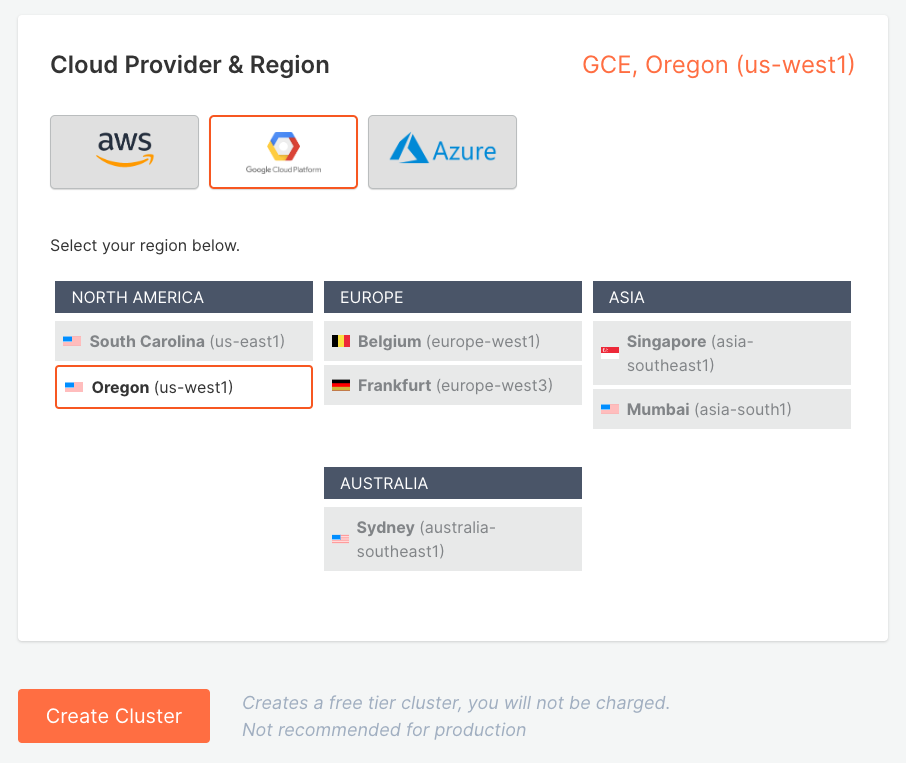
By default, we’ll be deploying on Google Cloud Platform in the Oregon (us-west1) region.
After clicking on “Create Cluster” you’ll see an overview page with the provisioning status of your cluster. Once it’s ready, you’ll see “State: Ready”.
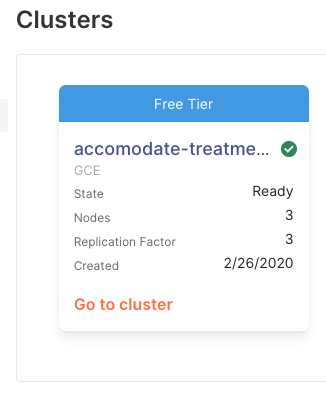
Click on “Go to cluster”. You should now be redirected to the UI for this particular cluster.
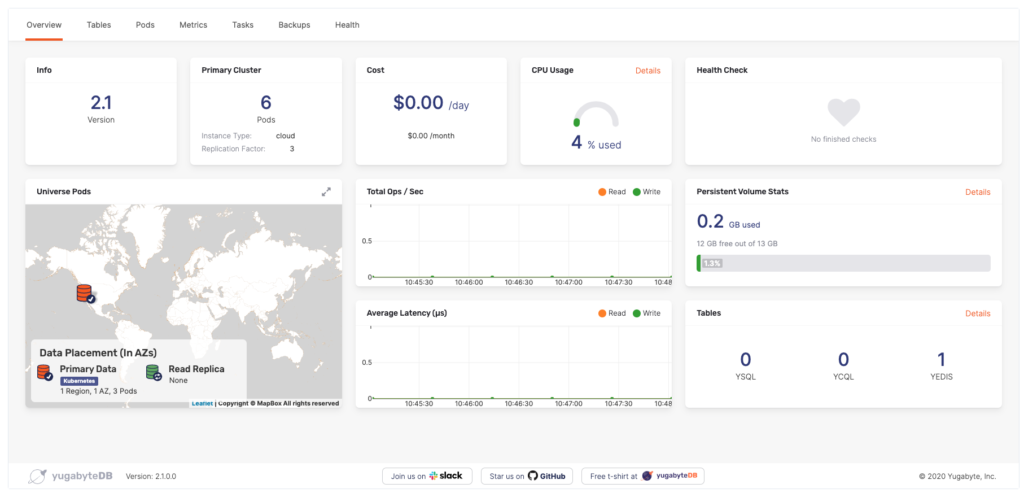
From this screen you can explore configuration, resource usage, objects, pods, metrics, and other information about the YugabyteDB cluster.
Download YugabyteDB clients
The next thing that we’ll want to do is to connect to this cluster from our local machine. This will require access to the YugabyteDB client utilities. For the purposes of this blog post, we’ll show you how to wire up the PostgreSQL compatible YSQL client on a Mac. Follow the instructions for downloading and installing on other platforms if needed.
The first thing to do is download the latest version of YugabyteDB. (As of this writing, 2.1 is the latest version.)
$ wget https://downloads.yugabyte.com/yugabyte-2.1.0.0-darwin.tar.gz
Next, unpack the archive file and change to the YugabyteDB home directory.
$ tar xvfz yugabyte-2.1.0.0-darwin.tar.gz && cd yugabyte-2.1.0.0/
Connect to YugabyteDB in the cloud
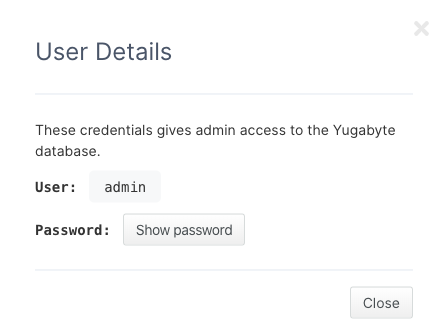
To connect your local YSQL client and GUI tools to the YugabyteDB cluster running in the cloud you’ll need to know your administrative credentials. You can do this by navigating to Security > Database Access.

Click on “Info” and “Show Password” buttons to reveal the password.
Now, click on “Clusters” in the explorer tree to get back to the overview screen and click on the cluster that was provisioned for you. When you are back to the UI for this particular cluster, look for the orange “connect” button in the upper right-hand corner. This will serve up a pop-up with the command you’ll need to execute in order to connect your local YSQL shell to the remote YugabyteDB cluster running in the cloud.
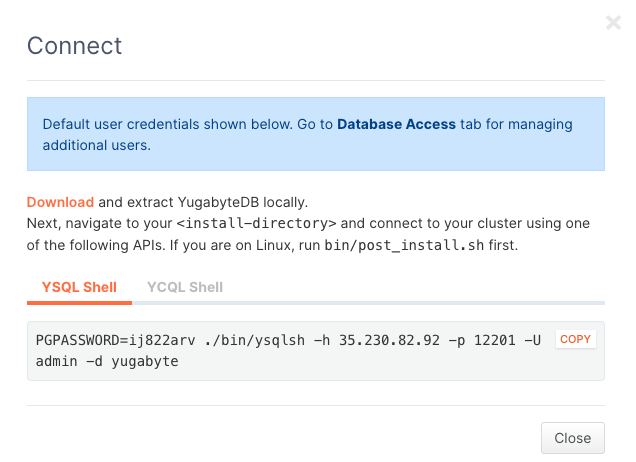
Execute the command below inside the YugabyteDB installation directory to get connected. (Note that the password in the example will not be valid for your cluster.)
$ PGPASSWORD=ij822arv ./bin/ysqlsh -h 35.230.82.92 -p 12201 -U admin -d yugabyte

ysqlsh (11.2-YB-2.1.0.0-b0)
Type "help" for help.

yugabyte=#
That’s it, we are now ready to create a sample database, build objects, load them with data, and connect to the cluster with an administrative tool.
Create a sample database
For the purposes of this blog post I am going to create a sample database called northwind and switch to it.
yugabyte=# create database northwind;
CREATE DATABASE

yugabyte=# \c northwind
You are now connected to database "northwind" as user "admin".
northwind=#
There are a variety of sample databases that are compatible with YugabyteDB. You can find them the DDL and DML scripts for the ones we have tested here:
https://docs.yugabyte.com/preview/sample-data/
You can also find the northwind and other sample database scripts in YugabyteDB’s /share directory.
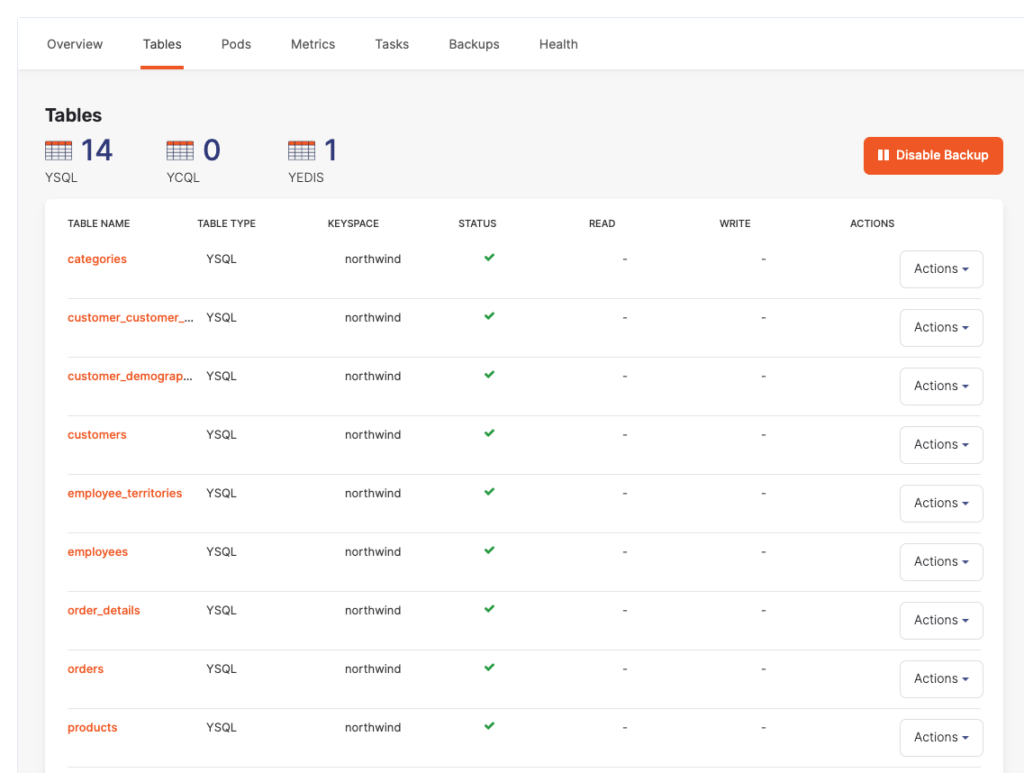
After you execute the northwind DDL and data scripts you can verify the database and objects in the UI by clicking on the “Tables” link.
Connect to Yugabyte Cloud from DataGrip
Because YugabyteDB is PostgreSQL wire compatible, just about any database administration tool that supports PostgreSQL will work with YugabyteDB. In this tutorial we are going to show you how to get DataGrip connected to our YugabyteDB cluster in the cloud. We previously shared the details of how to install DataGrip, which is very straight-forward. The only thing you’ll need to note that is specific to YugabyteDB is how to set up the connection correctly. It should be set up similar to the screenshot below:
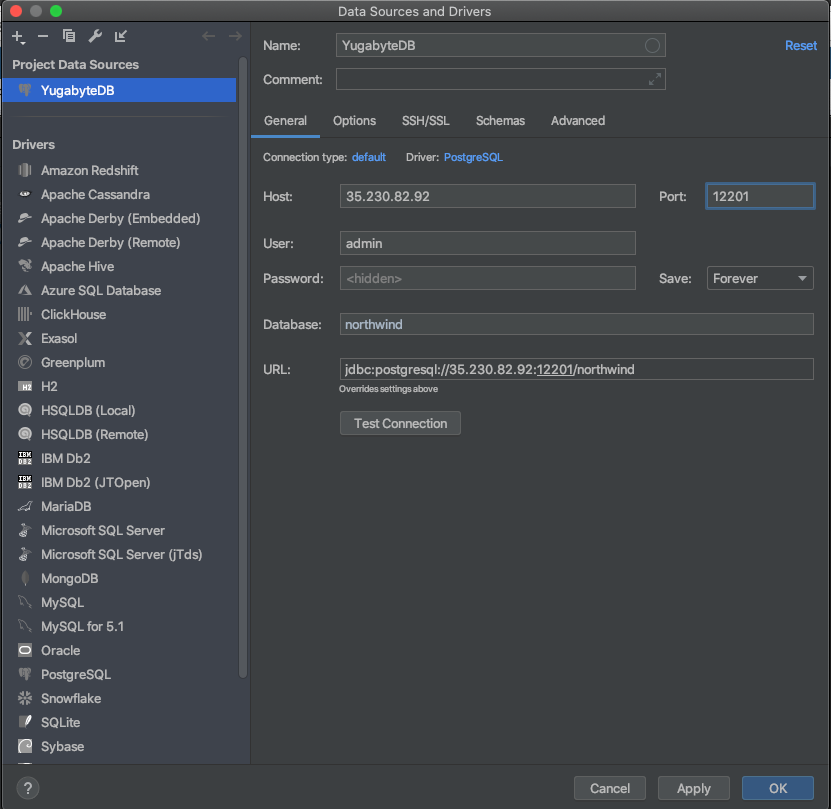
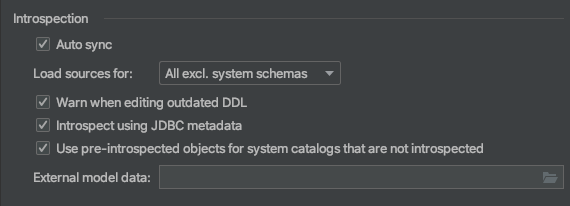
Note that the host IP, port, and admin password values were all available in the pop-up we saw when we clicked on the “Connect” button in the Yugabyte Cloud UI. Remember to check “Introspect using JDBC metadata” on the “Options” tab.
Finally, test the connection, open up a new SQL console, and execute a simple query to make sure everything is working.
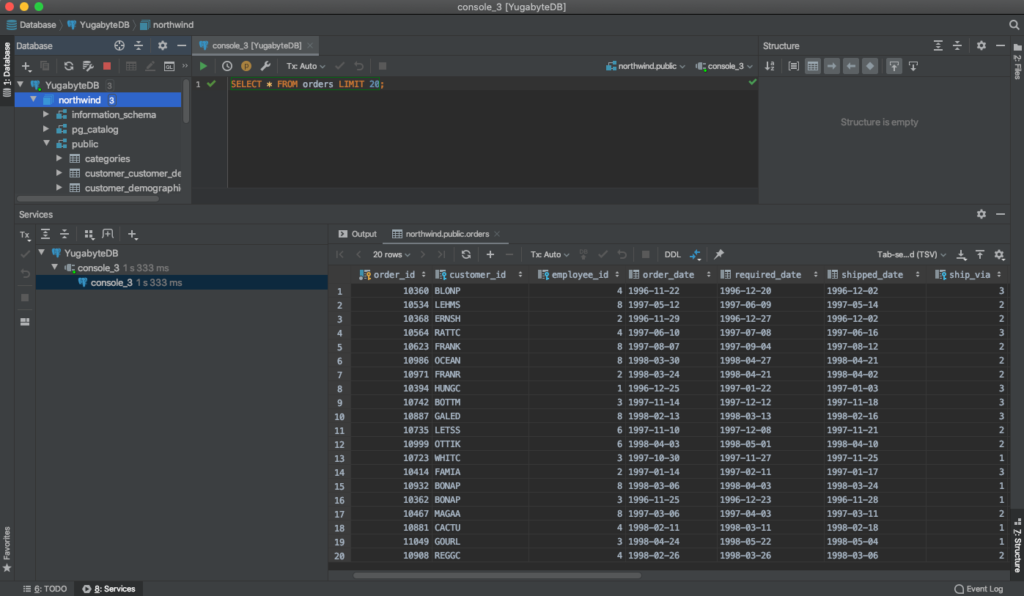
That’s it! You can now create databases, objects and manipulate data in the terminal with YSQL or in your favorite GUI tool to a YugabyteDB cluster hosted on Yugabyte Cloud.
See it in action
Check out the demo video on getting started with Distributed SQL on YugabyteDB Managed (formerly Cloud) to see it in action:
What’s next?
- Compare YugabyteDB in depth to databases like CockroachDB, Google Cloud Spanner, and Amazon Aurora.
- Get started with YugabyteDB on macOS, Linux, Docker, and Kubernetes.
- Contact us to learn more about licensing, pricing, or to schedule a technical overview.
- We’re hiring! Check out our open positions and spread the word.


