Getting Started with TablePlus on a Distributed SQL Database
August 23, 2019
If you’re a database developer, you already understand the importance of a tool to manage your databases. Whether it is for creating schemas, ad-hoc querying, backups, or diving deeper to troubleshoot a database issue, a database tool can make your life much easier and increase your productivity. In a previous posts we covered how to get started with DBeaver, PGAdmin, and SQL Workbench/J. in this post we’ll show you how to get up and running with YugabyteDB and TablePlus.
What’s YugabyteDB? It’s a high performance distributed SQL database for global, internet-scale apps. YugabyteDB is a PostgreSQL-compatible database. Similar to Google Spanner, YugabyteDB gives you all the scalability characteristics of NoSQL, without sacrificing the ACID transactions or strong consistency you are accustomed to with PostgreSQL.
What is TablePlus?
TablePlus is a modern, native, and friendly GUI tool for relational databases including MySQL, PostgreSQL, SQLite & more. To get started there is a free trial and paid for version. In a nutshell, the free trial is limited to 2 opened tabs, 2 opened windows, 2 advanced filters at a time. For more info, check out their pricing page.
Prerequisites
Before we get into TablePlus, you’ll need to set up YugabyteDB and install a sample database. For the purposes of this blog post we’ll be using the Northwind sample database. The instructions for how to get up and running in just a few minutes can be found in our previous blog post, “The Northwind PostgreSQL Sample Database Running on a Distributed SQL Database.”
In this how-to we’ll be focused on getting up and running on a Mac, although YugabyteDB and TablePlus supports the most popular operating environments.
Installing TablePlus
To get the latest version, check out the TablePlus download page. Once you have downloaded, installed and opened up the TablePlus application you’ll see the

Right-click on the blank canvas to create a new connection and select “PostgreSQL”.

In YugabyteDB, by default the hostname and port number are localhost and 5433 respectively. Assuming you installed the Northwind sample database, specify it as the database you want to connect to by default.

Note: By default in the configuration screen, port 5432 is used, and this should be changed to 5433. Just like a regular PostgreSQL cluster, password authentication for the “postgres” user is disabled, and hence no password should be specified to get started.
Hit “Test” and “Connect” if it all looks good.
Working with the Northwind Sample Database
That’s it! You are ready to start exploring the northwind database running on a distributed SQL backend using TablePlus. Let’s take a quick tour.
View Database Objects
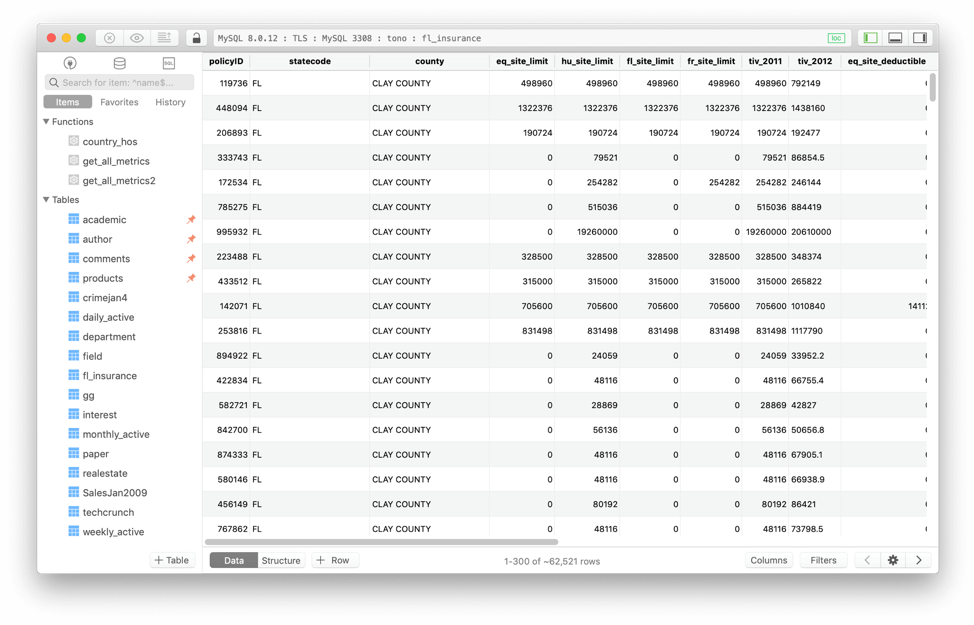
By expanding out items > tables you can quickly visualize all the tables in the northwind database and retrieve their properties. In the screen grab below we are looking at the ‘customers” table.

Querying Data
If you want to try your hand at writing your own SQL queries, you can do that by clicking on the “lightning bolt” or query editor button. In this UI you can create, run and view the results of your query.

There’s a ton more development and administrative capabilities inside of TablePlus, so make sure to give the tool a thorough exploration.
What’s Next
- Using YugaByte at your company? Tell us about it and we’ll send you a hoodie!
- Compare YugabyteDB in depth to databases like CockroachDB, Google Cloud Spanner and MongoDB.
- Get started with YugabyteDB on macOS, Linux, Docker, and Kubernetes.
- Contact us to learn more about licensing, pricing or to schedule a technical overview.

")
