Cloud Native Tips and Tricks for YugabyteDB – March 27, 2020
March 27, 2020
In this blog post, we answer some common questions from YugabyteDB users to help you in your own application development and deployment. We’ll also review upcoming events, new documentation, and blogs that have been published since the last post. Got questions? Make sure to ask them on our YugabyteDB Slack channel, Forum, GitHub, or Stackoverflow.
Before we dive in, we wanted to let you know that the Yugabyte team has been working from home in order to do our part with social distancing and to help with containment efforts. We have also transitioned to online meetings with our customers, partners, candidates, community, and fellow Yugabeings. We will continue with these and other measures until it’s determined to be safe otherwise. We wish everyone the best health and wellness, and our thoughts are with all those around the world who have been affected by COVID-19. If during these unprecedented circumstances, you have some time or would welcome a brief distraction, we invite you to check out this post below.
Are there any differences between the YugabyteDB charts for Helm 2 and Helm 3?
The YugabyteDB Helm Chart available at https://charts.yugabyte.com/ is compatible with both Helm 2 and Helm 3. There are no options exposed for only a specific version of Helm. The differences are in the Helm setup and syntax.
With Helm 2, you need to initialize the server-side tiller component as well as have a service account configured using ClusterRole. On the other hand, with Helm 3, a namespace has to be explicitly created before the chart can be installed. For more references, check our latest documentation or our charts source on GitHub.
The syntax of specifying the chart for Helm 2 for example would be:
helm install --name yb-demo --namespace yb-demo yugabytedb/yugabyte --wait
And for Helm 3:
helm install yb-demo --namespace yb-demo yugabytedb/yugabyte --wait
Do you have any specific documentation for installing YugabyteDB in a Red Hat OpenShift deployment?
The recommended way to deploy YugabyteDB within Red Hat OpenShift is to use the Helm chart. All you need is admin deployment privileges and a minimum amount of CPU/memory resources on the Kubernetes nodes. A blog detailing the Helm chart deployment in an OpenShift environment is forthcoming.
I’ve followed the documentation for Getting Started with YugabyteDB for Kubernetes to install Minikube. How do I access the YSQL service after deploying with a Helm chart?
In a default Minikube installation, any services exposed by a ‘load-balancer’ tag recognized by most cloud providers are not resolved and you will see a <pending> status if you view those services:
| NAME | TYPE | CLUSTER-IP | EXTERNAL-IP | PORT(S) | AGE |
|---|---|---|---|---|---|
yb-master-ui | LoadBalancer | 10.98.66.255 | <pending> | 7000:31825/TCP | 119s |
yb-masters | ClusterIP | None | <none> | 7100/TCP,7000/TCP | 119s |
yb-tserver-service | LoadBalancer | 10.106.5.69 | <pending> | … | 119s |
yb-tservers | ClusterIP | None | <none> | … | 119s |
You can log into ysqlsh via any of the started pods, however, this does not give you access to any of the local files on your development host. While your minikube cluster is started, you can use the minikube tunnel command to use your host IP to address any load-balancer requests. By running minikube tunnel in a separate command, this way the <pending> external IP should resolve to an IP that tunnels from the localhost network to the minikube cluster.
How can I launch the YugabyteDB AWS CloudFormation template with an existing VPC instead of creating a new one?
By default, the CloudFormation template will create a new VPC and leverage that VPC for all of its stack creation operations. This starts on line 39:
VPC:
    Type: 'AWS::EC2::VPC'
    Properties:
      EnableDnsSupport: 'true'
      EnableDnsHostnames: 'true'
      CidrBlock: !FindInMap
        - SubnetConfig
        - VPC
        - CIDR
      Tags:
        - Key: Application
          Value: !Ref 'AWS::StackName'
        - Key: Network
          Value: Public
        - Key: Name
          Value: !Ref "AWS::StackName"
That VPC is thereafter referred to in the CloudFormation template as part of the three subnets as shown below:
VpcId: !Ref VPC
If you do not want to create a new VPC, you can replace the ‘VpcId’ with one of your existing VPCs. Since this is a regional resource, you can view these via the AWS console while logged in to your account with appropriate permissions. For example, the link https://console.aws.amazon.com/vpc/home?region=us-east-1#vpcs:sort=VpcId will list your VPC IDs for the us-east-1 AWS region. That VPC ID can replace the ‘!Ref VPC’ in your CloudFormation template to create the AWS instances, subnets, gateways, and routing rules in your desired VPC.
New Documentation, Blogs, Tutorials, and Videos
New Blogs
- Document Data Modeling in YugabyteDB with the JSON Data Types
- Automating YugabyteDB Deployments with AWS CloudFormation
- Getting Started with pgbench and Distributed SQL on GKE
New Videos
- Install YugabyteDB on macOS using Docker and yugabyted
- Longhorn Distributed Block Storage & Cloud Native Distributed SQL on Google Kubernetes Engine
- Getting Started with Distributed SQL Colocated Tables
New and Updated Docs
- Deploy YugabyteDB on multi-cluster, multi-region Google Kubernetes Engine clusters
- Deploy YugabyteDB on a multi-zone/regional Google Kubernetes Engine cluster
- Deploy YugabyteDB on a multi-zone Amazon EKS cluster
- YCSB benchmark guide for YSQL
- JSON data type reference for YSQL
Upcoming Events
- Kubernetes Master Class: Getting Started with Longhorn Distributed Block Storage and Cloud-Native Distributed SQL, April 22, 2020 at 8 am PT
- Virtual Silicon Valley PostgreSQL Meetup, April 23, 2020 at 11 am PT
We Are Hiring!
Yugabyte is growing fast and we’d like you to help us keep the momentum going! Check out our currently open positions:
- Lead Development Representative – Sunnyvale, CA
- Site Reliability Engineer (SRE) – Sunnyvale, CA
- Community Success Engineer – Remote OK
- Senior Curriculum Developer – Remote OK
- Software Engineer – Cloud Infrastructure – Sunnyvale, CA
- Software Engineer – Core Database – Sunnyvale, CA
- Software Engineer – Full Stack – Sunnyvale, CA
- Solutions Engineer – Sunnyvale, CA
- Developer Advocate – Sunnyvale, CA
Our team consists of domain experts from leading software companies such as Facebook, Oracle, Nutanix, Google, and LinkedIn. We have come a long way in a short time but we cannot rest on our past accomplishments. We need your ideas and skills to make us better at every function that is necessary to create the next great software company. All while having tons of fun and blazing new trails!
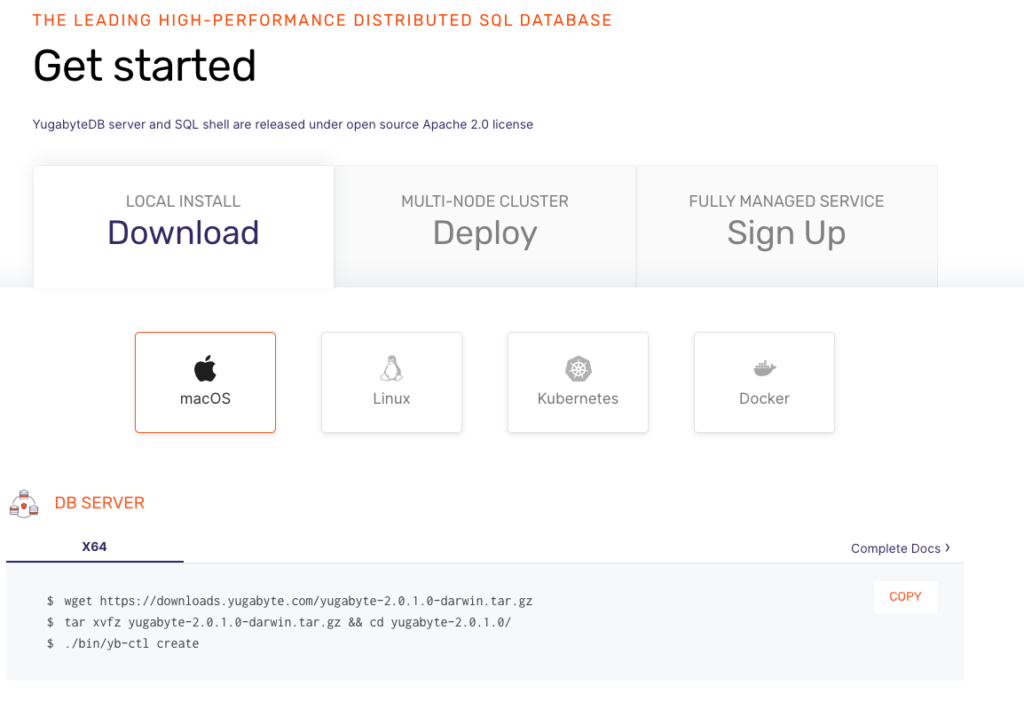
Get Started
Ready to start exploring YugabyteDB features? Getting up and running locally on your laptop is fast. Visit our quickstart page to get started.