How to Migrate a Node.js Application From PostgreSQL
February 14, 2023
Migrating a data store from one system to another can seem like a daunting task.
Many organizations have thousands of applications, each backed by relational databases like Oracle, MySQL, or PostgreSQL. Scaling databases hosted on a single database node requires increased storage and compute power.
These resources aren’t limitless, and come at a high financial cost. This often leads teams to scale horizontally, by manually sharding their data from a monolithic system across multiple database nodes to achieve data resiliency, amongst other things.
This is no easy task. It forces engineers to divert focus from application development in order to build a resilient and reliable system.
This is where distributed SQL databases like YugabyteDB shine. The preeminent open-source, cloud-native, distributed SQL database, YugabyteDB has eliminated the need for manual data sharding by automatically handling data replication.
In this blog, I’m going to show you how easy it is to use YugabyteDB Voyager to migrate a Node.js application backed by a single-node PostgreSQL database to a distributed YugabyteDB cluster.
Continue reading for step-by-step instructions or, if you prefer, check out our overview video.
Getting Started
We could run PostgreSQL on our machines using a local installation or in Docker, but here I’m going to demonstrate how to migrate a cloud native version of PostgreSQL, hosted on the Google Cloud Platform (GCP).
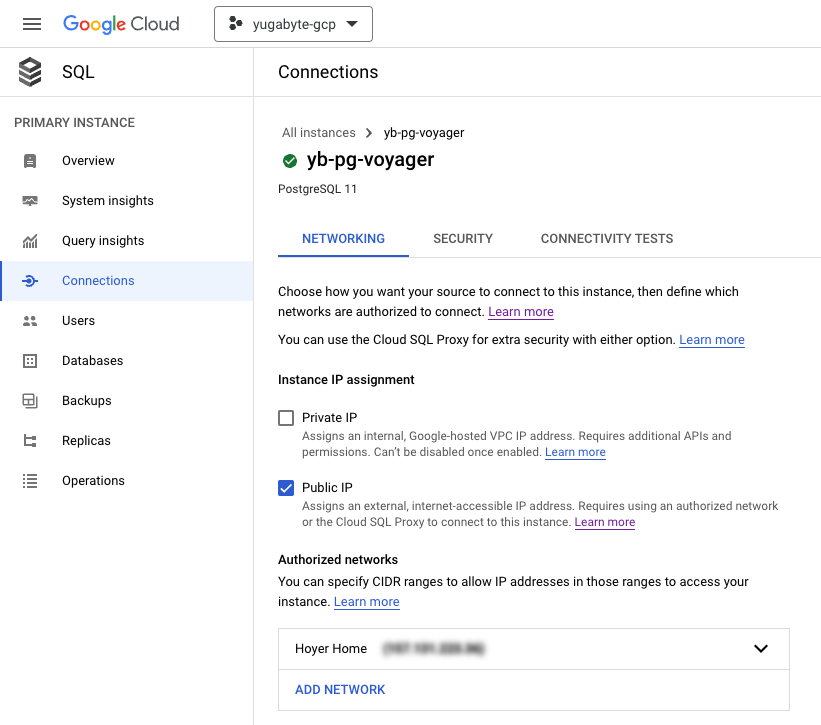
I’ve created a PostgreSQL v11 instance on Google Cloud SQL named yb-pg-voyager and set my public IP address to the authorized networks list so I can connect directly from my machine.
While beneficial for demonstration purposes, I’d recommend connecting securely from inside of a VPC, with SSL certificates to properly secure your data transfers.
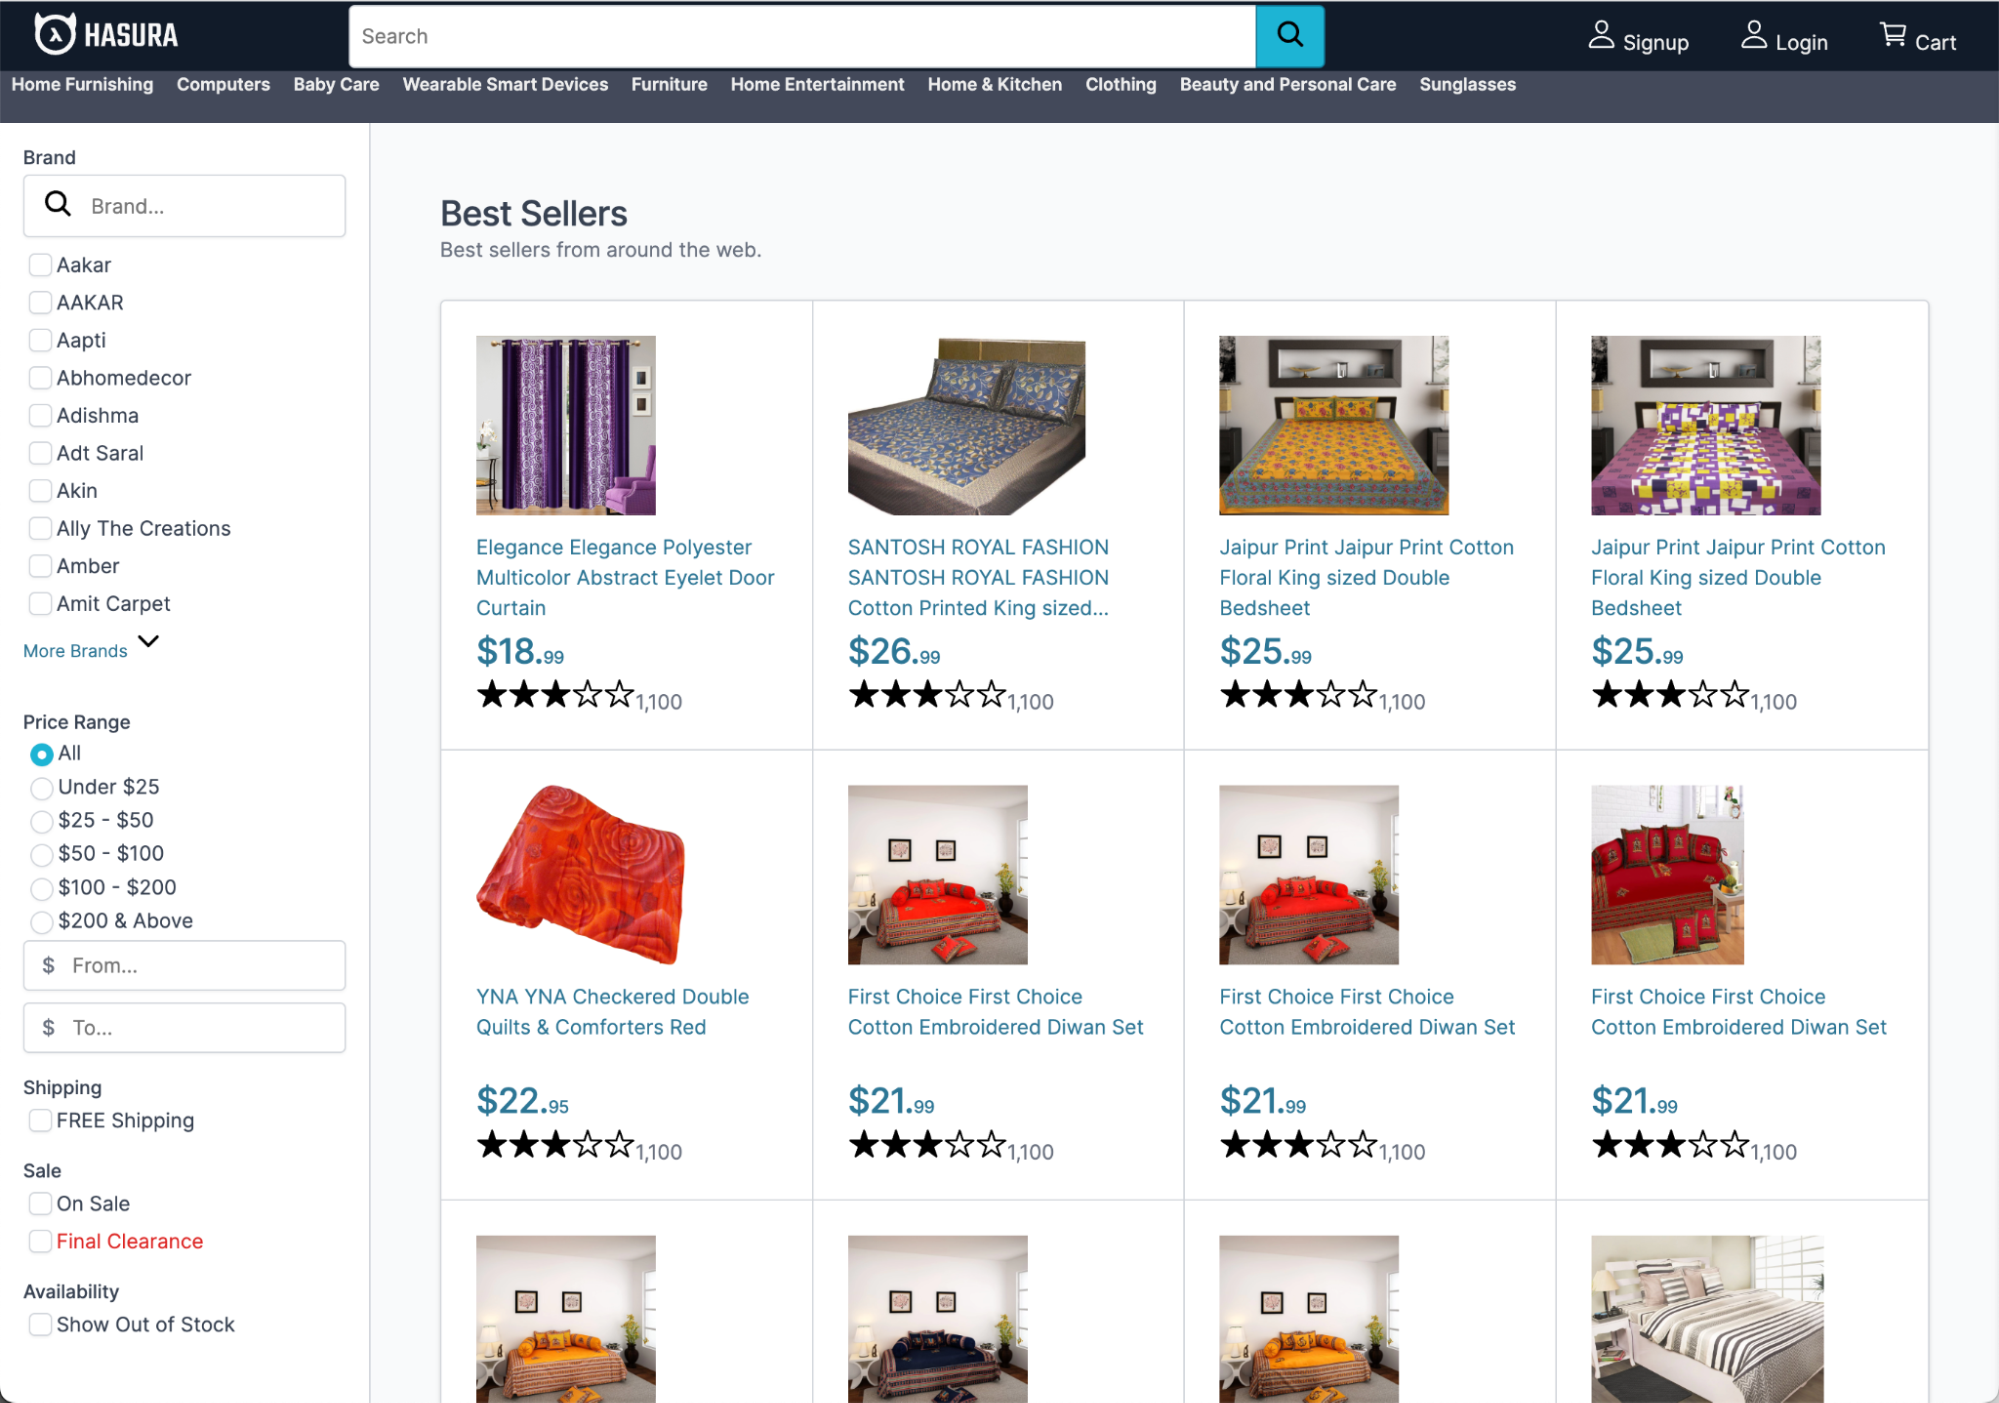
Now that we have an instance in the cloud, let’s seed it with some data. I’ve chosen to run this Hasura E-Commerce Application, which comes with a comprehensive database schema. The database comes with many tables, sequences, stored procedures, triggers and more. You can view the schema on Github.
Now we’re getting somewhere! Let’s connect the application to our database to verify the configuration.
Connecting From The Application
By running the Hasura E-Commerce Application with our database configuration, we can verify that we have properly set up our Google Cloud SQL database.
Now that we’re up and running, let’s migrate our database to a cluster running in YugabyteDB Managed.
YugabyteDB Managed
YugabyteDB supports local installation, but I prefer to use a fully-managed solution. After all, we’re migrating from Cloud SQL, so it makes sense to move our data to a distributed SQL database running in the cloud. Plus, who can argue with automatic upgrades and performance monitoring!
It takes less than five minutes to get started with YugabyteDB Managed. First, create an account and then follow the steps to create a YugabyteDB cluster.
I’ve chosen to deploy a three-node cluster to AWS, in the us-west-2 region. This configuration will provide fault tolerance across availability zones.
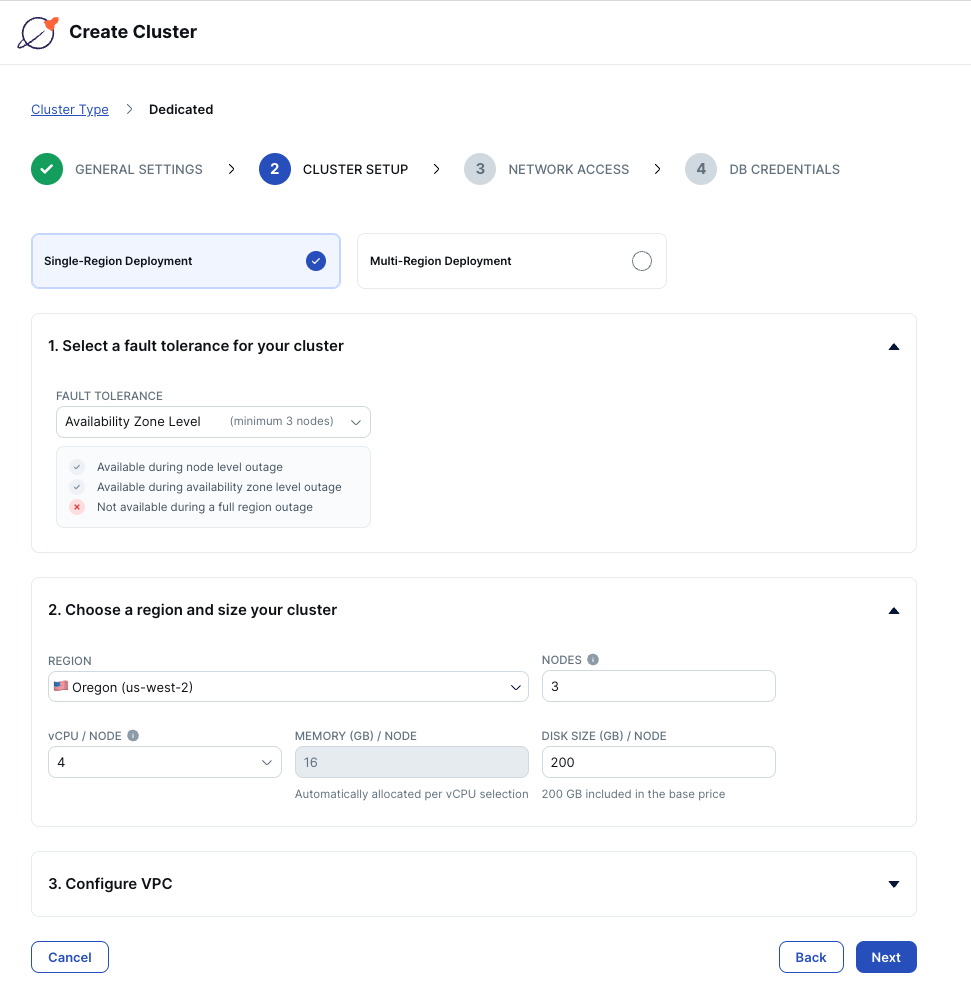
Add your IP address to the cluster allow list so you can connect from your machine to the remote database and download the database credentials before creating your cluster.
Once the cluster is up and running, it’s time to migrate your database.
Migrating With YugabyteDB Voyager
With our database in place, we’re ready to migrate from Cloud SQL to YugabyteDB using the open-source data migration engine, YugabyteDB Voyager.
After installing YugabyteDB Voyager, we’ll begin by creating users in our source and target databases and granting them roles.
- Create the
ybvoyageruser in Cloud SQL and grant permissions:postgres=> CREATE USER ybvoyager PASSWORD 'password'; CREATE ROLE postgres=> \c postgres psql (15.1, server 11.16) You are now connected to database "postgres" as user "postgres". postgres=> SELECT 'GRANT USAGE ON SCHEMA ' || schema_name || ' TO ybvoyager;' FROM information_schema.schemata; \gexec postgres=> SELECT 'GRANT SELECT ON ALL TABLES IN SCHEMA ' || schema_name || ' TO ybvoyager;' FROM information_schema.schemata; \gexec
- Repeat this process in YugabyteDB Managed:
yugabyte=> CREATE USER ybvoyager PASSWORD 'password';
yugabyte=> GRANT yb_superuser TO ybvoyager;
Next, we’ll create an export directory, which is used to hold our data before migrating it. For larger deployments, you’ll need to make sure you export your data to a machine with sufficient storage space.
mkdir $HOME/export-dir
export EXPORT_DIR=$HOME/export-dir
Now, we can begin migrating our data to YugabyteDB.
- Use the export schema command to begin utilizing the export directory we just created.
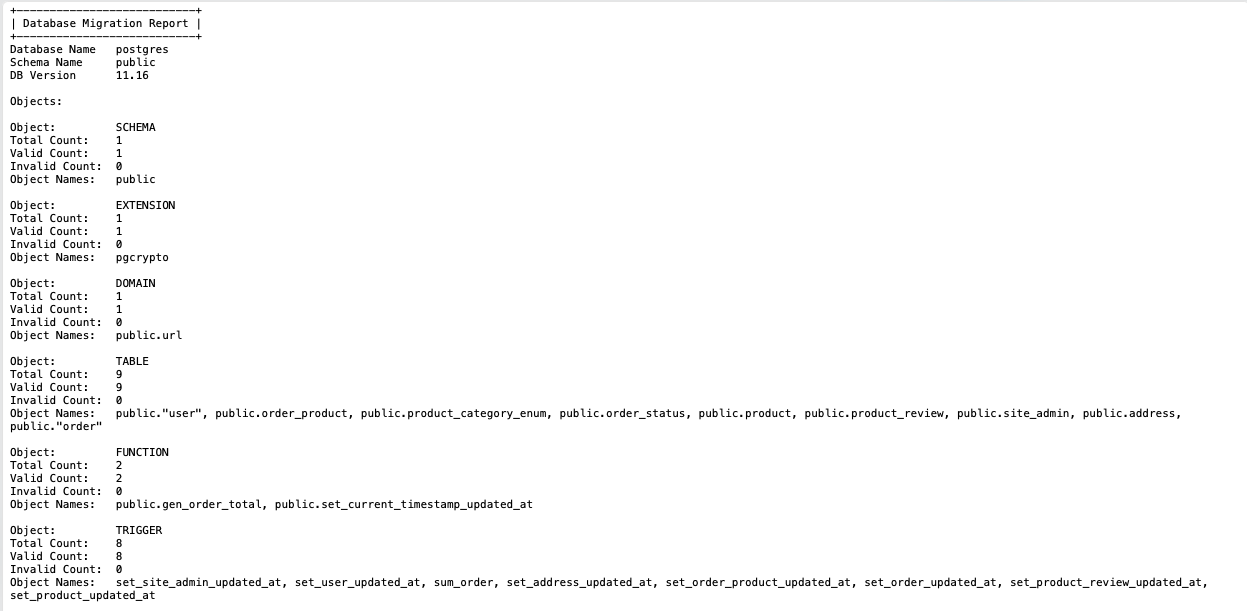
> yb-voyager export schema --export-dir ~/export-dir-gcp \ --source-db-type postgresql \ --source-db-host [CLOUD_SQL_HOST] \ --source-db-user postgres \ --source-db-password ‘[CLOUD_SQL_PASSWORD]’ \ --source-db-name postgres \ --source-db-schema public export of schema for source type as 'postgresql' postgresql version: 11.16 exporting the schema done Exported schema files created under directory: /Users/bhoyer/export-dir-gcp/schema - Use the analyze-schema command to verify that the schema was exported properly. If there are any issues with the DDL statements that were generated, there will be instructions to make minor changes to the schema.
yb-voyager analyze-schema --export-dir ~/export-dir --output-format txt
This will produce the following text file.

- With our schema exported successfully, it’s time to export our data.
yb-voyager export data --export-dir ~/export-dir-gcp \
       --source-db-type postgresql \
       --source-db-host [CLOUD_SQL_HOST] \
       --source-db-user postgres \
       --source-db-password '[CLOUD_SQL_PASSWORD]' \
       --source-db-name postgres \
       --source-db-schema public


export of data for source type as 'postgresql'
Num tables to export: 9
table list for data export: [public.user public.address public.order public.order_status public.order_product public.product public.product_category_enum public.product_review public.site_admin]
calculating approx num of rows to export for each table...
Initiating data export.
Data export started.
Exported tables:- {public.address,  public.order,  public.order_product,  public.order_status,  public.product,  public.product_category_enum,  public.product_review,  public.site_admin,  public.user}


TABLE                	ROW COUNT
address              	497
order                	2400
order_product        	4636
order_status         	6
product              	25428
product_category_enum	32
product_review       	0
site_admin           	1
user                 	499


Export of data complete ✅
We’re halfway there. Now we can import the schema and data to our YugabyteDB Managed instance. You’ll need to make note of your connection details in the cloud console and download the credentials.
Start by importing the schema from our export directory.
yb-voyager import schema --export-dir ~/export-dir-gcp \
       --target-db-host [YB_MANAGED_HOST] \
       --target-db-user admin \
       --target-db-password [YB_MANAGED_PASSWORD]
       --target-db-name yugabyte \
       --target-db-schema public
YugabyteDB version: 11.2-YB-2.15.3.2-b0
schemas to be present in target database "yugabyte": [public]
...

NOTE: Materialised Views are not populated by default. To populate them, pass --refresh-mviews while executing import schema --post-import-data.
YugabyteDB Voyager has successfully taken the schema, which we’ve exported to the export directory on our machine and created the same tables in YugabyteDB Managed.
Next, import the data from our export directory.
yb-voyager import data --export-dir ~/export-dir-gcp \
       --target-db-host [YB_MANAGED_HOST] \
       --target-db-user admin \
       --target-db-password [YB_MANAGED_PASSWORD]
       --target-db-name yugabyte \
       --target-db-schema public
import of data in "yugabyte" database started
Target YugabyteDB version: 11.2-YB-2.15.3.2-b0

Warning: Based on internal analysis, --target-db-host is identified as a load balancer IP which will be used to create connections for data import.

To control the parallelism and servers used, refer to help for --parallel-jobs and --target-endpoints flags.
Using 2 parallel jobs by default. Use --parallel-jobs to specify a custom value
skipping already imported tables: []
Preparing to import the tables: [address order order_product order_status product product_category_enum product_review site_admin user]
order
As you can see in the output, YugabyteDB Voyager handles this data import with parallelism, making quick work of it.
To wrap things up, import indexes and triggers.
yb-voyager import schema --export-dir ~/export-dir-gcp \
       --target-db-host [YB_MANAGED_HOST] \
       --target-db-user admin \
       --target-db-password [YB_MANAGED_PASSWORD]
       --target-db-name yugabyte \
       --target-db-schema public \
       --post-import-data
YugabyteDB version: 11.2-YB-2.15.3.2-b0
trigger.sql: CREATE TRIGGER set_address_updated_at BEFORE UPDATE ON public.address FOR EACH R ...
. . .
We can now say goodbye to our database running in GCP and connect our application to YugabyteDB Managed!
Connecting to YugabyteDB Managed
Migrating our PostgreSQL database to YugabyteDB Managed was a breeze. Changing our application to connect to YugabyteDB is just as easy. YugabyteDB is PostgreSQL-compliant, so we just need to tweak our connection details.
...
HASURA_GRAPHQL_DATABASE_URL: postgresql://admin:[YB_MANAGED_PASSWORD]@[YB_MANAGED_HOST]:5433/yugabyte
     PG_DATABASE_URL: postgresql://admin:[YB_MANAGED_PASSWORD]@[YB_MANAGED_HOST]:5433/yugabyte
...
By running our application again, we can verify that our database was migrated successfully.
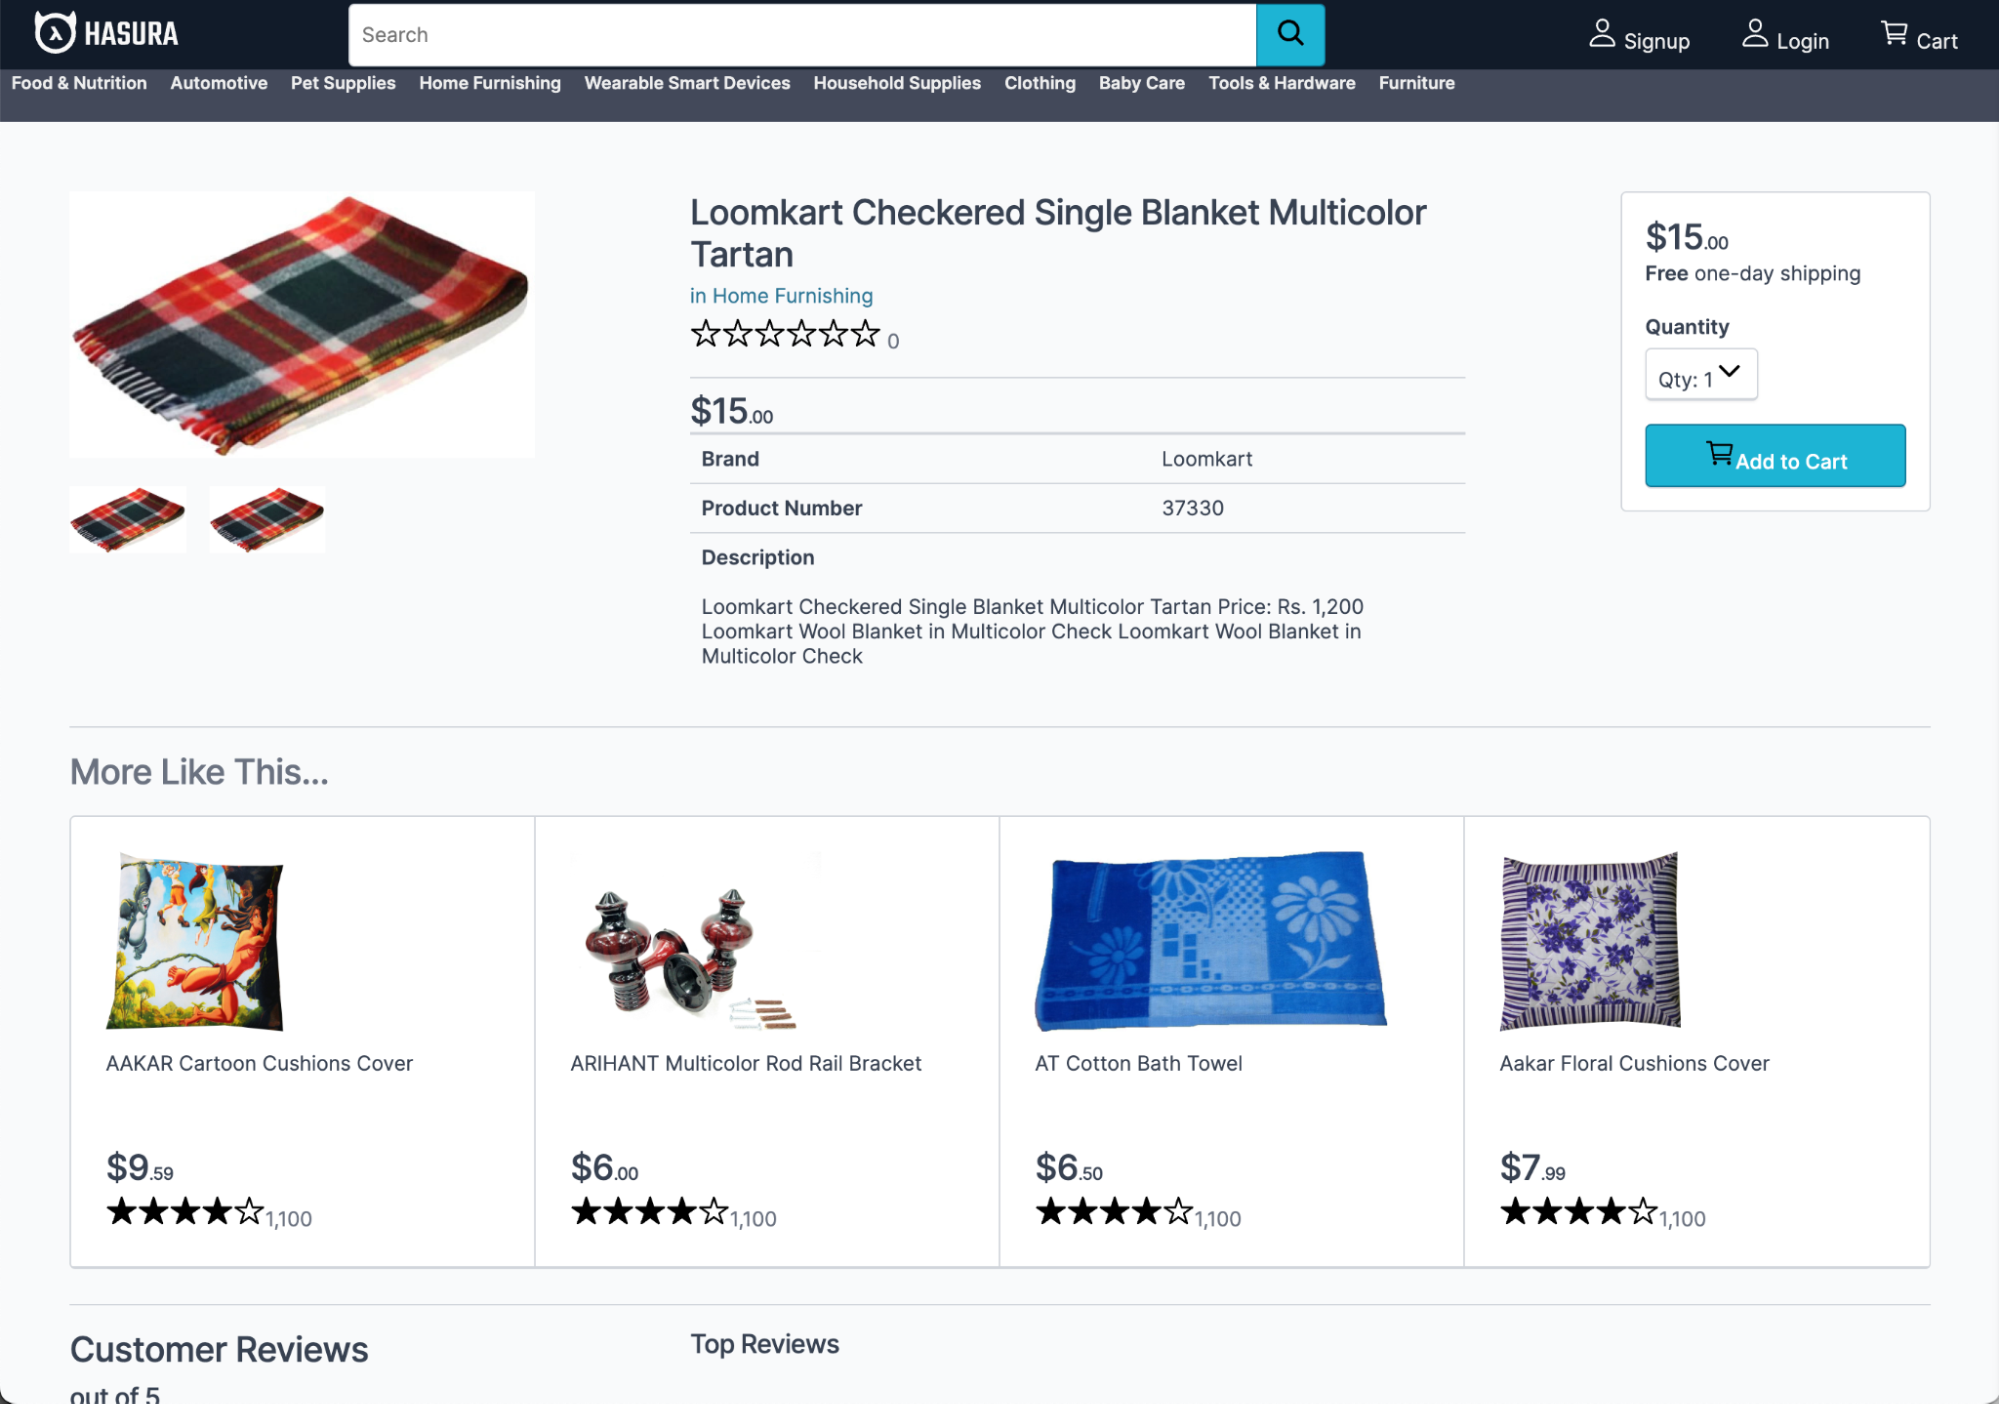
This time, I decided to select an item to view its details.
Then, I added it to my cart.
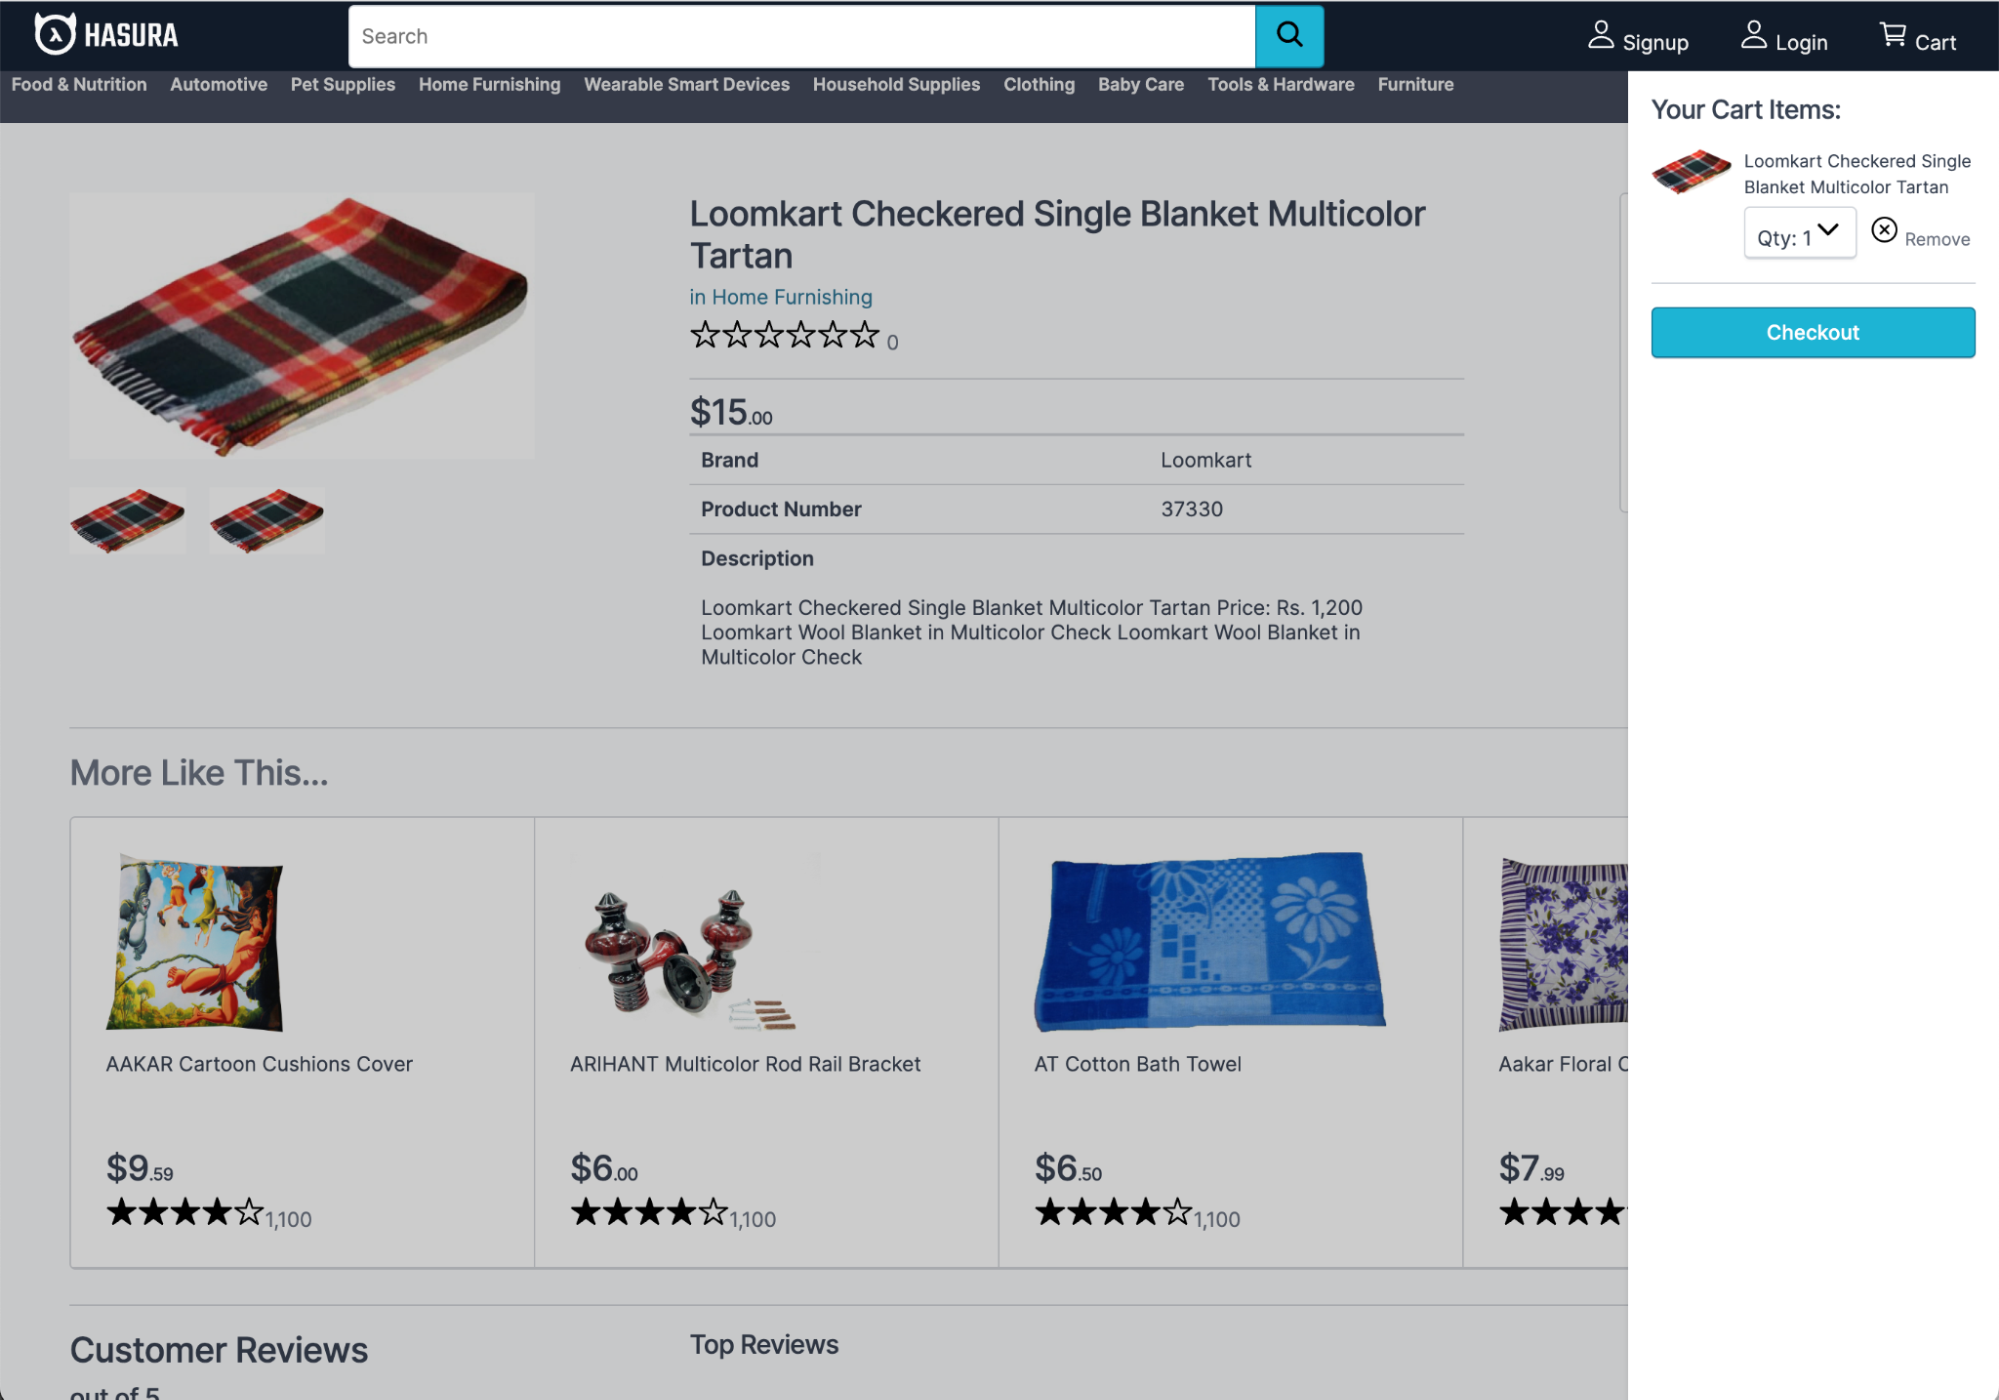
The store is working as expected and our database was migrated successfully, thanks to YugabyteDB Voyager!
Wrapping Up
As you can see, migrating data from PostgreSQL to YugabyteDB with the help of YugabyteDB Voyager isn’t so daunting after all!
In fact, Voyager works with many different types of source databases, including MySQL and Oracle. Give it a try with your own projects to facilitate migration to distributed SQL!
Look out for more of my blogs about distributed SQL and YugabyteDB in the near future. Until then, keep on coding!


